Telephone: +8618730949119
E-mail: 1299343081@qq.com
2 月 . 15, 2025 17:27
Back to list
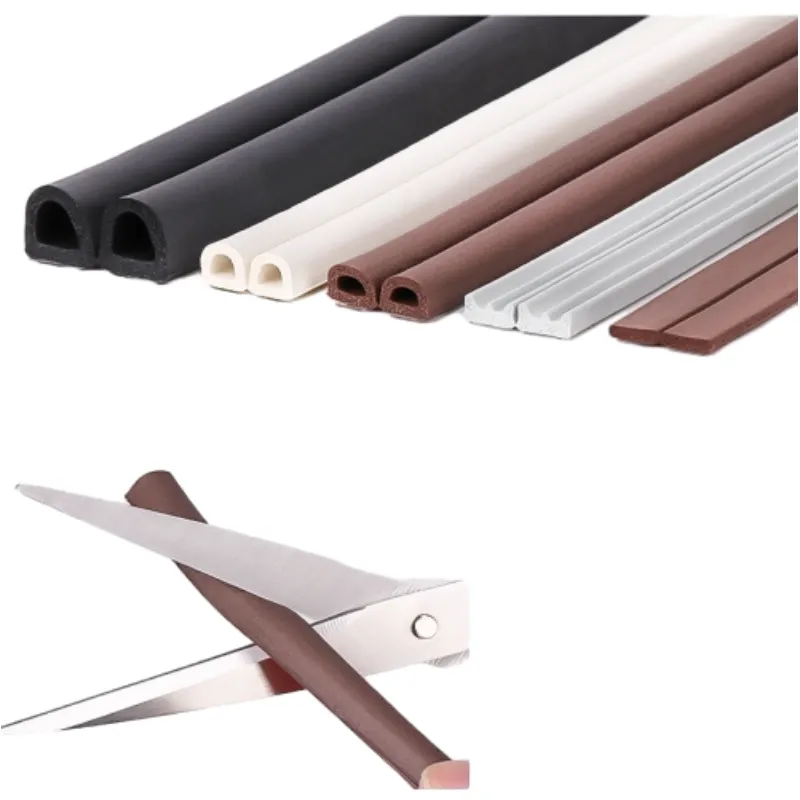
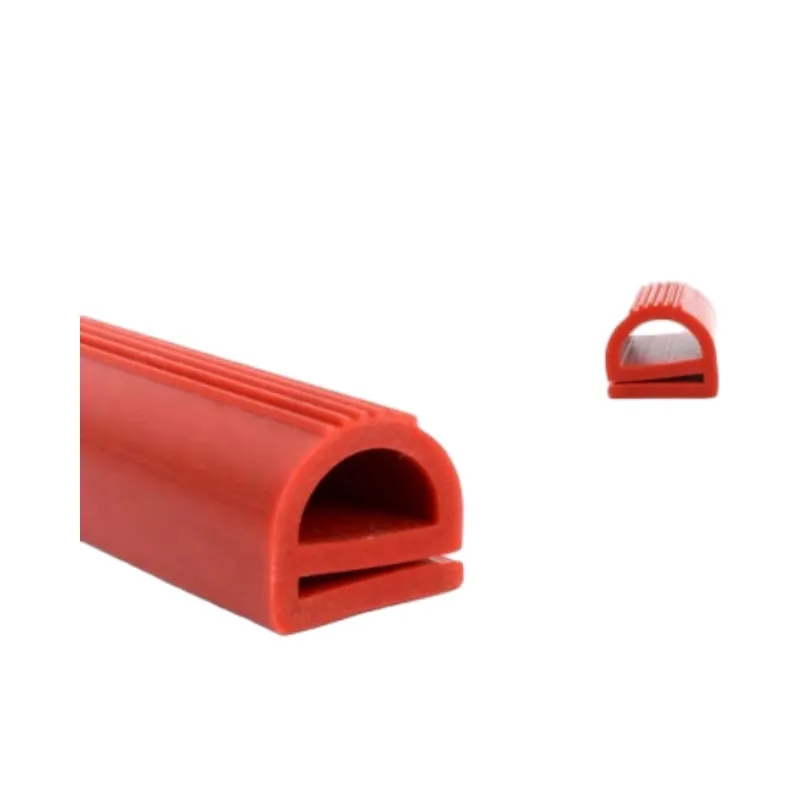
Gap Solid Silicone Rubber Strip Anti Oil High Temp
Fitting an oven door seal might appear to be a daunting task, but with the right tools and guidance, it can be accomplished efficiently and effectively. As a seasoned expert in making home appliance maintenance accessible, I'll provide you with the quintessential guide to replacing your oven door seal, ensuring optimal safety, performance, and energy efficiency.
3. Clean the Groove Once the old seal is removed, take a moment to clean the groove. Use a damp cloth to wipe away any debris or residue that might impede the new seal from fitting snugly. 4. Install the New Seal Start at one end and slot the new seal into place. If the seal is clip-based, use your fingers to press it into the designated clip holders securely. Take care to ensure there are no twists or misalignments, as these can compromise the seal’s effectiveness. 5. Test the New Seal After installing the new seal, close the oven door to check its tightness. A properly fitted seal should require a small amount of force to close, ensuring it’s airtight. If you detect any looseness or gaps, repeat the installation process to correct the alignment. Final Quality Check Test the oven after installation. With the power back on, turn the oven to a moderate temperature and allow it to run. Check for any unusual heat leakage. Proper sealing should result in no noticeable heat escaping, even as the oven reaches its set temperature. Maximizing Seal Longevity To extend the life of your new oven door seal, avoid harsh cleaning chemicals, which can degrade the material. Instead, regularly wipe down the seal with a damp cloth. Additionally, ensure that the oven door is never slammed shut, as this can dislodge or damage the seal. Professionally maintaining and replacing your oven door seal can lead to significant savings on energy bills and improve cooking performance. With this authoritative advice, you proudly achieve a task that not only enhances the longevity of your appliance but also boosts the efficiency of your everyday culinary endeavors. Trust in this expert guidance for consistent, high-quality outcomes.
3. Clean the Groove Once the old seal is removed, take a moment to clean the groove. Use a damp cloth to wipe away any debris or residue that might impede the new seal from fitting snugly. 4. Install the New Seal Start at one end and slot the new seal into place. If the seal is clip-based, use your fingers to press it into the designated clip holders securely. Take care to ensure there are no twists or misalignments, as these can compromise the seal’s effectiveness. 5. Test the New Seal After installing the new seal, close the oven door to check its tightness. A properly fitted seal should require a small amount of force to close, ensuring it’s airtight. If you detect any looseness or gaps, repeat the installation process to correct the alignment. Final Quality Check Test the oven after installation. With the power back on, turn the oven to a moderate temperature and allow it to run. Check for any unusual heat leakage. Proper sealing should result in no noticeable heat escaping, even as the oven reaches its set temperature. Maximizing Seal Longevity To extend the life of your new oven door seal, avoid harsh cleaning chemicals, which can degrade the material. Instead, regularly wipe down the seal with a damp cloth. Additionally, ensure that the oven door is never slammed shut, as this can dislodge or damage the seal. Professionally maintaining and replacing your oven door seal can lead to significant savings on energy bills and improve cooking performance. With this authoritative advice, you proudly achieve a task that not only enhances the longevity of your appliance but also boosts the efficiency of your everyday culinary endeavors. Trust in this expert guidance for consistent, high-quality outcomes.
Latest news
-
Silicone Seal Strip: The Ultimate Solution for Your Sealing NeedNewsNov.01,2024
-
Keep the Heat: The Importance of Seal for Oven DoorsNewsNov.01,2024
-
Essential Guide to Corner Protectors for Your FurnitureNewsNov.01,2024
-
Enhance Your Home with Silicone SolutionsNewsNov.01,2024
-
Efficient Maintenance of Melamine Sealing StripsNewsNov.01,2024
-
Comparison of Different Edge Sealing ProcessesNewsNov.01,2024
-
Types of Door Bottom Seal Strips and Their Best UsesNewsOct.25,2024