Telephone: +8618730949119
E-mail: 1299343081@qq.com
2 月 . 15, 2025 17:06
Back to list
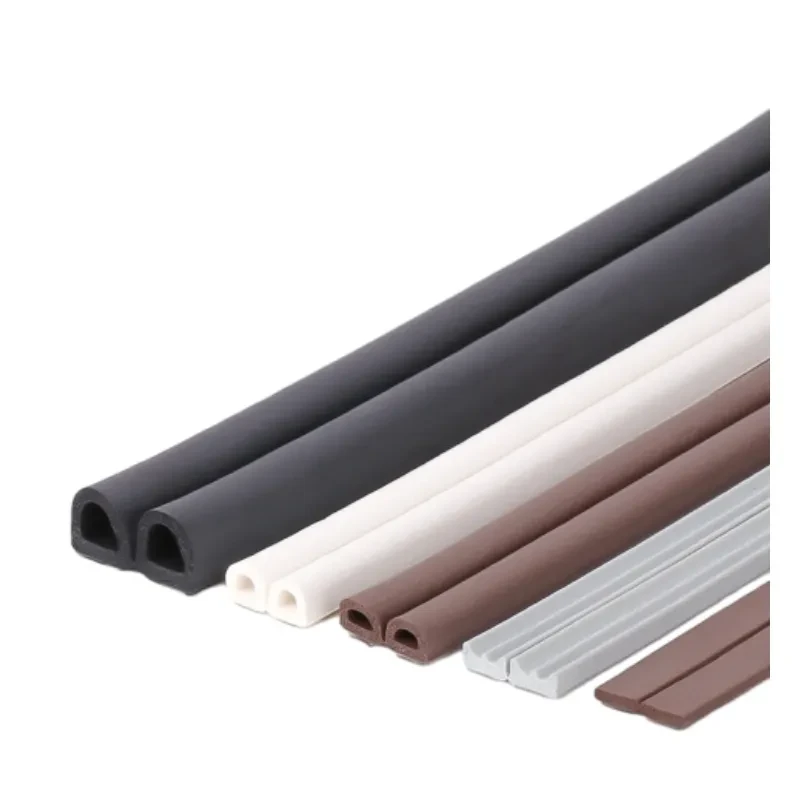
Universal Rubber Sealant For Lip Bumper Car Fender Flare Arch Trim
Replacing an oven door seal is an essential maintenance task that can significantly enhance the efficiency and longevity of your cooking appliance. A poor seal can lead to heat loss, uneven baking, and increased energy consumption. In this precise and detailed guide, we delve into the steps to replace an oven door seal, drawing from the expertise of seasoned professionals and insights gained through years of hands-on experience.
6. Final Checks After installing the new seal, close the oven door to assess the fit. Ensure the door closes smoothly with no gaps, indicating a successful seal installation. Maximizing Seal Longevity To extend the life of your new oven door seal, avoid using harsh chemicals during cleaning as they can degrade the material. Instead, opt for mild dish soap and a soft cloth. Regularly inspect the seal for signs of wear, particularly if your oven is used frequently. Understanding the Importance of Quality Opting for a high-quality replacement seal is crucial. Genuine parts provided by the oven manufacturer are preferable, as they guarantee compatibility and durability. Non-original parts may fit poorly or wear out quickly, negating the benefits of replacement. Leveraging Expertise and Authority The knowledge and insights shared in this guide stem from extensive professional experience in appliance maintenance and repair. Relying on expert advice ensures that the task is approached with precision and that results are both effective and enduring. Trust in Reliable Sources Engaging with certified appliance repair professionals or consulting the official manufacturer guides adds a layer of credibility to the task. These sources offer valuable insights and confirmation that the replacement process adheres to industry standards. Ultimately, replacing an oven door seal is a straightforward yet impactful task. By following these precise steps, you can restore your oven’s performance, optimize energy efficiency, and maintain consistent cooking results. Trust in expert guidance and quality components to ensure the success of this maintenance undertaking.

6. Final Checks After installing the new seal, close the oven door to assess the fit. Ensure the door closes smoothly with no gaps, indicating a successful seal installation. Maximizing Seal Longevity To extend the life of your new oven door seal, avoid using harsh chemicals during cleaning as they can degrade the material. Instead, opt for mild dish soap and a soft cloth. Regularly inspect the seal for signs of wear, particularly if your oven is used frequently. Understanding the Importance of Quality Opting for a high-quality replacement seal is crucial. Genuine parts provided by the oven manufacturer are preferable, as they guarantee compatibility and durability. Non-original parts may fit poorly or wear out quickly, negating the benefits of replacement. Leveraging Expertise and Authority The knowledge and insights shared in this guide stem from extensive professional experience in appliance maintenance and repair. Relying on expert advice ensures that the task is approached with precision and that results are both effective and enduring. Trust in Reliable Sources Engaging with certified appliance repair professionals or consulting the official manufacturer guides adds a layer of credibility to the task. These sources offer valuable insights and confirmation that the replacement process adheres to industry standards. Ultimately, replacing an oven door seal is a straightforward yet impactful task. By following these precise steps, you can restore your oven’s performance, optimize energy efficiency, and maintain consistent cooking results. Trust in expert guidance and quality components to ensure the success of this maintenance undertaking.
Latest news
-
Silicone Seal Strip: The Ultimate Solution for Your Sealing NeedNewsNov.01,2024
-
Keep the Heat: The Importance of Seal for Oven DoorsNewsNov.01,2024
-
Essential Guide to Corner Protectors for Your FurnitureNewsNov.01,2024
-
Enhance Your Home with Silicone SolutionsNewsNov.01,2024
-
Efficient Maintenance of Melamine Sealing StripsNewsNov.01,2024
-
Comparison of Different Edge Sealing ProcessesNewsNov.01,2024
-
Types of Door Bottom Seal Strips and Their Best UsesNewsOct.25,2024