Steps to Replace the Seal on Your Chef Oven Door for Optimal Performance
Replacing the Chef Oven Door Seal A Comprehensive Guide
The oven is an essential appliance in any kitchen, and its efficiency often hinges on the integrity of its components. One critical part of your oven is its door seal, which plays a vital role in maintaining temperature, improving energy efficiency, and ensuring consistent cooking results. If you've noticed that your oven is taking longer to preheat or that heat is escaping during cooking, it may be time to replace the oven door seal. This article will guide you through the process of replacing the seal to improve your oven's performance.
Understanding the Oven Door Seal
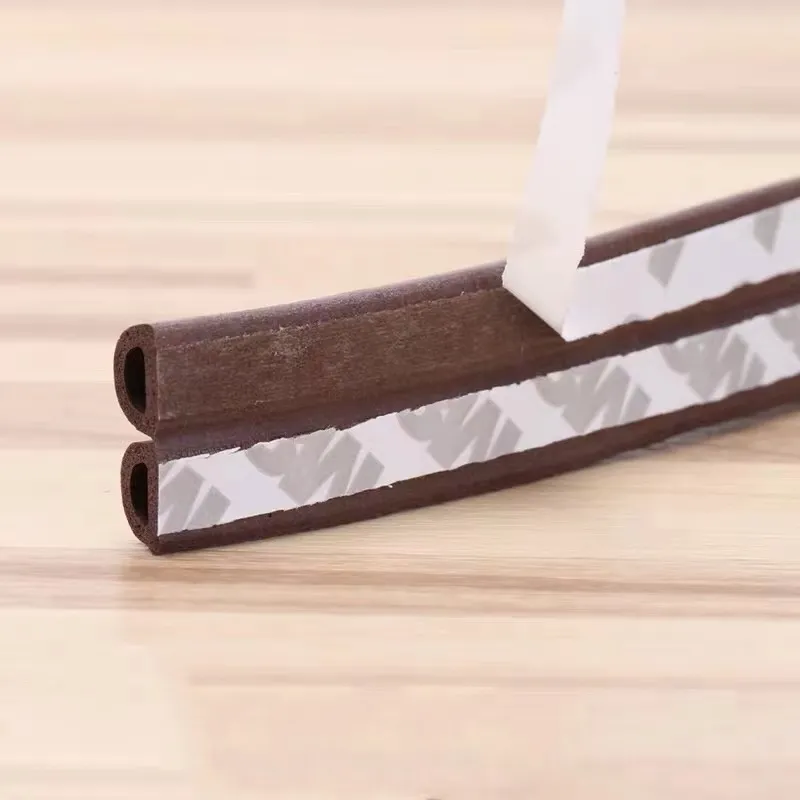
The oven door seal, often made of a heat-resistant material like silicone or fiberglass, is designed to create a tight barrier between the oven door and the frame. This insulation prevents heat from escaping, allowing your food to cook more evenly and efficiently. Over time, however, seals can wear out, become brittle, or develop tears, resulting in a decrease in the oven's cooking efficiency.
Signs It's Time to Replace the Seal
1. Increased Cooking Time If you find that your food is taking longer to cook, it may be a sign that heat is escaping through a damaged seal. 2. Visible Damage Check for any cracks, tears, or warping in the seal. If the material looks worn or feels hard to the touch, replacement is necessary. 3. Oven Temperature Fluctuations If your oven's temperature seems inconsistent, it could be due to heat loss around the door.
Preparing for Replacement
Before you begin the replacement process, gather the necessary tools and materials. You will need - A replacement oven door seal (make sure it’s compatible with your oven model) - A screwdriver (if your oven requires screws for removal) - A pair of scissors or a utility knife - Cleaning supplies (soap and cloth)
chef oven door seal replacement

Step-by-Step Replacement Process
1. Disconnect and Clean Before working on the oven, ensure that it is unplugged or disconnected from its power source. Clean the area around the door where the seal attaches to remove any residue or debris.
2. Remove the Old Seal If your oven seal is held in place by screws, use the screwdriver to carefully remove them. If the seal is simply fitted into a groove, gently pull it away from the door.
3. Measure and Prepare the New Seal If your new seal is not pre-cut, measure the old seal's length to determine the correct size. Use scissors or a utility knife to cut your new seal to the appropriate length.
4. Install the New Seal Begin at one corner of the oven door and press the new seal into the groove or reattach it using screws. Ensure it fits snugly and evenly around the door, paying attention to corners and edges.
5. Test the Seal Once installed, gently close the oven door and check for any gaps. A properly installed seal will fit tightly and should not allow any light to pass through.
Conclusion
Replacing the oven door seal is a straightforward yet essential task that can significantly enhance your oven’s performance. By taking the time to check and replace a worn-out seal, you can improve energy efficiency, reduce cooking times, and ensure better cooking results. Regular maintenance of your kitchen appliances will not only save you money on energy bills but will also prolong the life of your oven. If you're unsure about any part of the replacement process, consult your oven’s user manual or seek professional assistance. Enjoy the improved functionality of your oven and happy cooking!
-
Silicone Seal Strip: The Ultimate Solution for Your Sealing NeedNewsNov.01,2024
-
Keep the Heat: The Importance of Seal for Oven DoorsNewsNov.01,2024
-
Essential Guide to Corner Protectors for Your FurnitureNewsNov.01,2024
-
Enhance Your Home with Silicone SolutionsNewsNov.01,2024
-
Efficient Maintenance of Melamine Sealing StripsNewsNov.01,2024
-
Comparison of Different Edge Sealing ProcessesNewsNov.01,2024
-
Types of Door Bottom Seal Strips and Their Best UsesNewsOct.25,2024