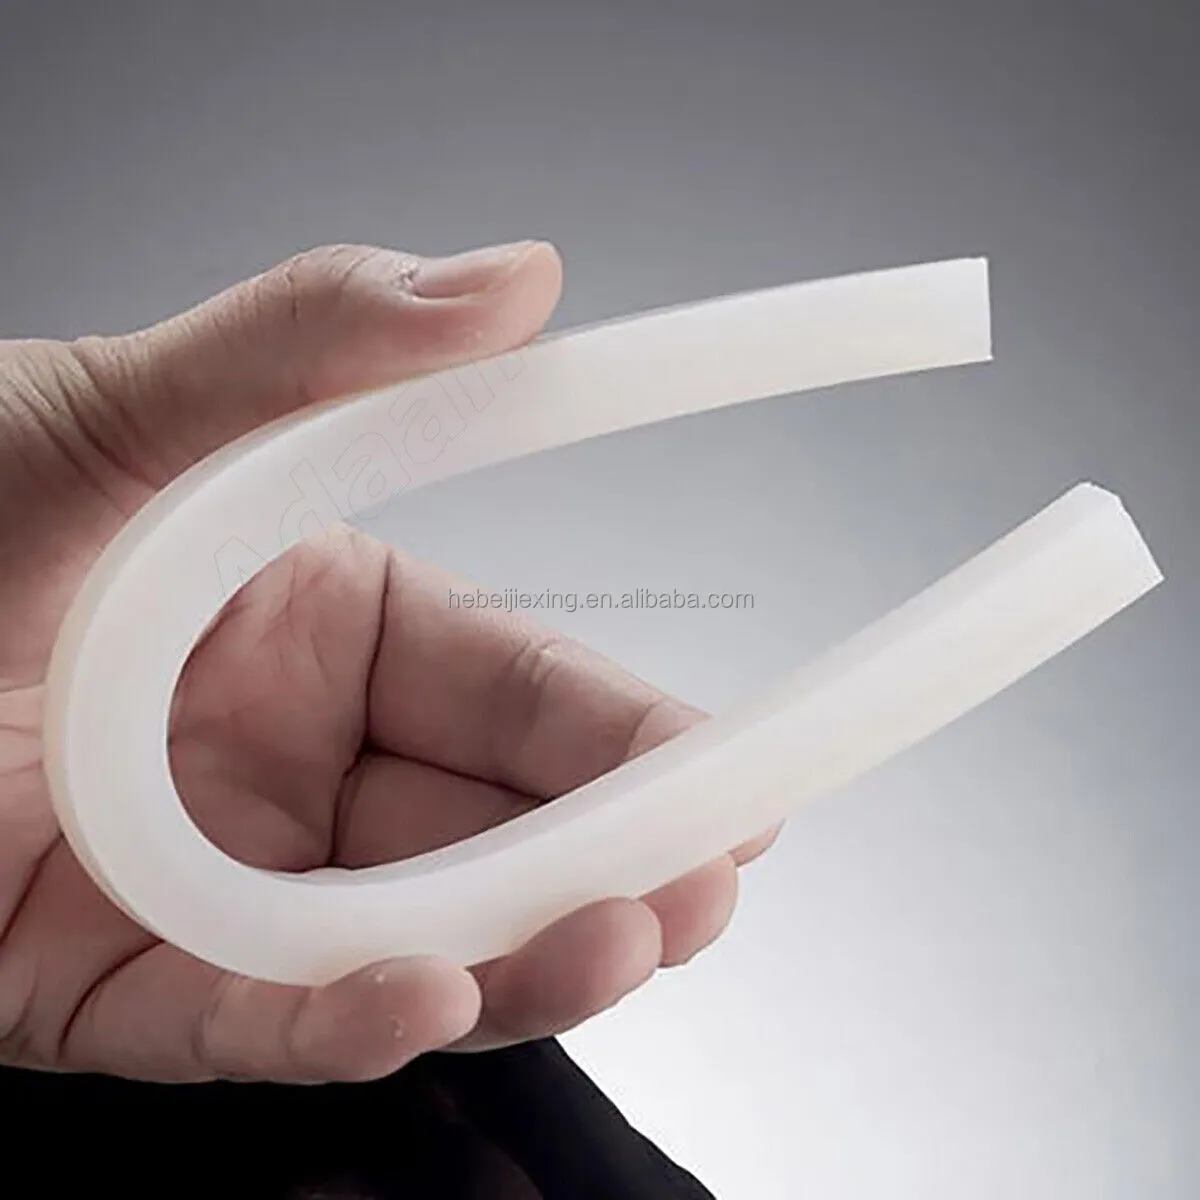
How to Replace Your Garage Door Seal for Better Insulation and Protection
Replacing Garage Door Seal A Step-by-Step Guide
A garage door seal plays a crucial role in maintaining the efficiency and functionality of your garage. Over time, however, these seals can wear out due to exposure to the elements, UV rays, and physical wear and tear. Replacing your garage door seal can help keep out moisture, dust, pests, and cold air, ensuring that your garage remains clean and energy efficient. This article will guide you through the process of replacing your garage door seal in a simple, straightforward manner.
Why Replace Your Garage Door Seal?
The garage door seal, often referred to as the bottom weather seal or sweep, is the barrier that keeps your garage insulated and protected from outside elements. If you notice any of the following signs, it may be time to replace your seal
1. Visible Damage Cracks, splits, or other visible signs of wear can compromise the effectiveness of the seal. 2. Drafts If you feel cold air coming in from under the garage door, it indicates that the seal is not functioning properly. 3. Pest Invasion Rodents and insects can easily find their way into your garage if the seal is damaged. 4. Water Leakage During rain, if you notice water pooling inside the garage, it's a clear indication that the seal has degraded.
Tools and Materials Needed
Before you start the replacement process, gather the following tools and materials
- New garage door seal (make sure it fits your door size) - Utility knife or scissors - Screwdriver (if screws are involved) - Tape measure - Ladder (if needed)
Step-by-Step Replacement Process
Step 1 Measure the Existing Seal
Begin by measuring the length of your current seal. Use a tape measure to get an accurate measurement from one end of the door to the other. It's crucial to buy a new seal that matches this length or can be cut to fit.
Step 2 Remove the Old Seal
replacing garage door seal

Carefully remove the old seal from the bottom of the garage door. If it is held in place by screws, use a screwdriver to take them out. If it’s a slide-in type, gently pull it out. Be cautious not to damage the door itself during this removal process.
Step 3 Clean the Area
Before installing the new seal, clean the area where the old seal was installed. Remove any debris, dirt, or remnants of the old adhesive. A clean surface will ensure better adhesion and fitting for the new seal.
Step 4 Install the New Seal
Align the new seal with the bottom of the garage door. If it is a slide-in type, make sure to slide it into the groove evenly. If it requires screws, position it correctly and secure it with the screws, tightening them just enough to hold the seal in place without over-tightening.
Step 5 Test the Seal
Once the new seal is installed, close the garage door and check for any gaps. You should not feel any drafts, and the door should close flush against the new seal. If necessary, make adjustments to ensure the best fit.
Step 6 Regular Maintenance
To extend the life of your new seal, regularly inspect it for wear and tear. Clean the seal and the surrounding area periodically to prevent dirt buildup and ensure it remains effective.
Conclusion
Replacing a garage door seal is a straightforward process that can provide significant benefits. By keeping your garage insulated, protected, and clean, you can improve the overall comfort of your home while potentially saving on energy bills. With the right tools and a step-by-step approach, you can successfully replace your garage door seal and enhance your garage's functionality for years to come.
-
Silicone Seal Strip: The Ultimate Solution for Your Sealing NeedNewsNov.01,2024
-
Keep the Heat: The Importance of Seal for Oven DoorsNewsNov.01,2024
-
Essential Guide to Corner Protectors for Your FurnitureNewsNov.01,2024
-
Enhance Your Home with Silicone SolutionsNewsNov.01,2024
-
Efficient Maintenance of Melamine Sealing StripsNewsNov.01,2024
-
Comparison of Different Edge Sealing ProcessesNewsNov.01,2024
-
Types of Door Bottom Seal Strips and Their Best UsesNewsOct.25,2024