Telephone: +8618730949119
E-mail: 1299343081@qq.com
2 月 . 10, 2025 18:31
Back to list
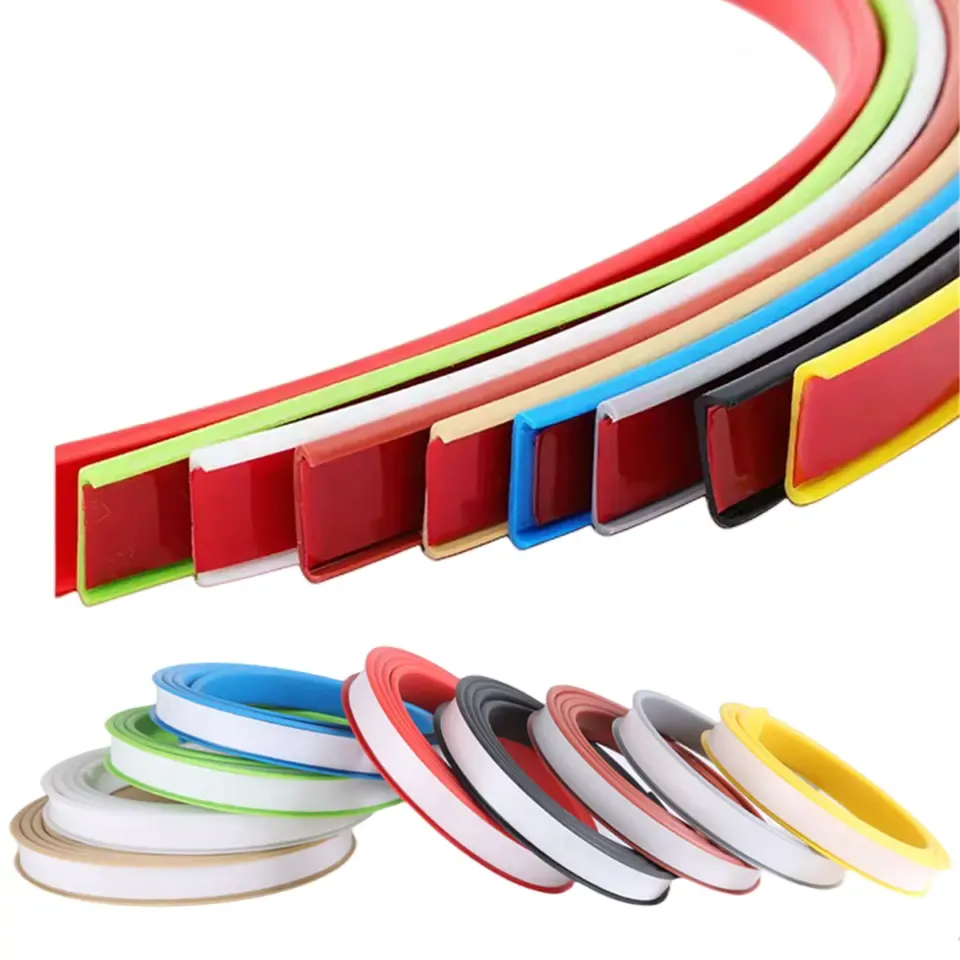
High Performance Oven Door Silicone Seal Strip
Replacing a garage door rubber seal successfully involves understanding the nuances of garage door maintenance and the pivotal role a rubber seal plays in the overall functionality of your door system. Comprehension of these elements not only prolongs the life of your garage door but also ensures efficiency, energy conservation, and protection against the elements. This guide provides an authoritative, professional approach to replacing your garage door rubber seal based on industry expertise and trusted methodologies.
5. Installing the New Seal - Most garage door seals feature a simple slot or track design for easy installation. Begin at one end of the door, feeding the new seal into the track. Ensure it is evenly inserted without twisting or binding, which might necessitate minor adjustments. - If the seal is too long, mark the excess with a utility knife and cut accordingly to ensure a snug fit. 6. Testing the New Seal - Once installed, test the garage door several times to ensure the seal does not obstruct the door's movement. Check the seal's function by observing for any light penetration when the door is closed, ensuring a complete seal. Expert Tips for Longevity and Maintenance To maximize the lifespan of your new garage door seal - Regularly clean the seal using mild detergent and water, removing dirt and debris which can lead to deterioration. - Inspect the seal periodically for early signs of wear and tear. - Lubricate the seal with a silicone-based lubricant monthly, especially in regions prone to extreme temperatures, to prevent the seal from drying out. By following these steps and tips, you reinforce your home’s defenses against external elements, promote energy efficiency, and extend the operational life of your garage door. Maintenance of the seal not only represents an immediate enhancement in your garage's efficiency but also reflects a long-term commitment to home upkeep and resource management. This expert-approved approach to replacing a garage door rubber seal underlines the necessity of preventive care and precise replacement, ensuring that your garage door system functions optimally at all times.
5. Installing the New Seal - Most garage door seals feature a simple slot or track design for easy installation. Begin at one end of the door, feeding the new seal into the track. Ensure it is evenly inserted without twisting or binding, which might necessitate minor adjustments. - If the seal is too long, mark the excess with a utility knife and cut accordingly to ensure a snug fit. 6. Testing the New Seal - Once installed, test the garage door several times to ensure the seal does not obstruct the door's movement. Check the seal's function by observing for any light penetration when the door is closed, ensuring a complete seal. Expert Tips for Longevity and Maintenance To maximize the lifespan of your new garage door seal - Regularly clean the seal using mild detergent and water, removing dirt and debris which can lead to deterioration. - Inspect the seal periodically for early signs of wear and tear. - Lubricate the seal with a silicone-based lubricant monthly, especially in regions prone to extreme temperatures, to prevent the seal from drying out. By following these steps and tips, you reinforce your home’s defenses against external elements, promote energy efficiency, and extend the operational life of your garage door. Maintenance of the seal not only represents an immediate enhancement in your garage's efficiency but also reflects a long-term commitment to home upkeep and resource management. This expert-approved approach to replacing a garage door rubber seal underlines the necessity of preventive care and precise replacement, ensuring that your garage door system functions optimally at all times.
Latest news
-
Silicone Seal Strip: The Ultimate Solution for Your Sealing NeedNewsNov.01,2024
-
Keep the Heat: The Importance of Seal for Oven DoorsNewsNov.01,2024
-
Essential Guide to Corner Protectors for Your FurnitureNewsNov.01,2024
-
Enhance Your Home with Silicone SolutionsNewsNov.01,2024
-
Efficient Maintenance of Melamine Sealing StripsNewsNov.01,2024
-
Comparison of Different Edge Sealing ProcessesNewsNov.01,2024
-
Types of Door Bottom Seal Strips and Their Best UsesNewsOct.25,2024