Tips for Installing New Weather Stripping on Doors to Improve Energy Efficiency
Replacing Door Weather Stripping A Complete Guide
Weather stripping is an essential component of any home's energy efficiency. Properly installed weather stripping around doors helps prevent drafts, reduces energy bills, and enhances indoor comfort. Over time, however, weather stripping can wear out, leading to air leaks and potentially higher heating and cooling costs. Here’s a complete guide on how to replace door weather stripping effectively.
Understanding Weather Stripping Materials
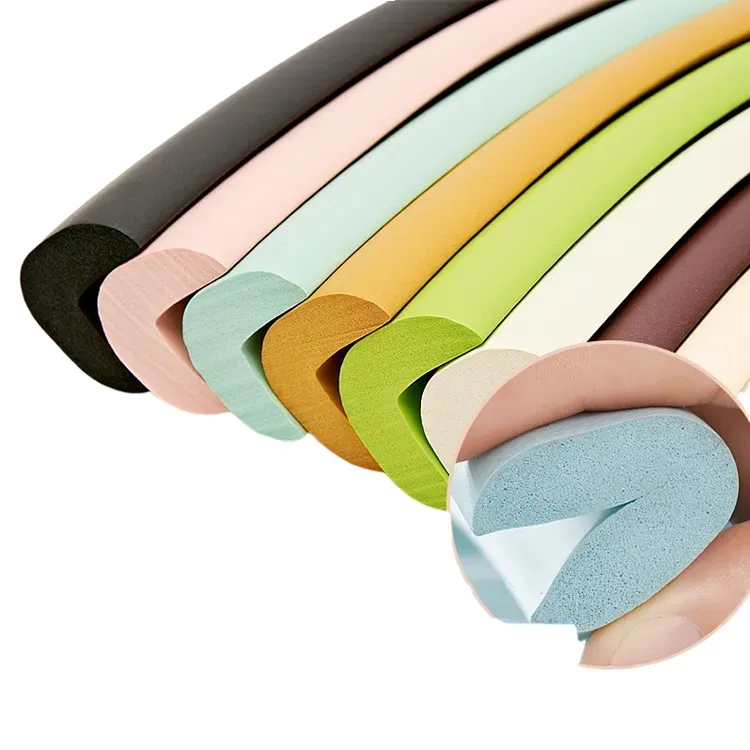
Before starting the replacement process, it's essential to understand the different types of materials used for weather stripping. The most common materials include foam tape, vinyl, rubber, felt, and metal. Each material offers varying levels of insulation and durability. Foam tape and felt are generally more affordable, while vinyl and rubber provide superior weather resistance and longevity.
Tools and Materials Needed
To replace door weather stripping, you will need the following tools and materials
- New weather stripping (choose based on your preference and door type) - Utility knife or scissors - Measuring tape - Cleaning supplies (such as a rag and mild detergent) - Adhesive (if required, depending on the type of weather stripping)
Steps to Replace Weather Stripping
replacing door weather stripping

1. Remove Old Weather Stripping Start by carefully removing the existing weather stripping. Use a utility knife if it’s glued down or simply peel it off if it’s adhesive-backed. Make sure to remove any remnants of sticky residue left behind, as this can affect the adhesion of the new weather stripping.
2. Clean the Surface Once the old stripping is removed, clean the door frame thoroughly. Use a rag and mild detergent to remove dirt and dust, ensuring a smooth surface for the new weather stripping to adhere to.
3. Measure the Door Frame Measure the length of the door frame where the weather stripping will be installed. Note the dimensions to ensure you purchase an adequate amount of new weather stripping.
4. Cut New Weather Stripping Based on your measurements, cut the new weather stripping to the appropriate lengths. It’s advisable to ensure the cuts are straight to facilitate a proper fit.
5. Install the New Weather Stripping Starting at the top of the door frame, apply the new weather stripping. If it’s adhesive-backed, press firmly to secure it. Make sure to align it properly and avoid stretching the material. Continue installing it along the sides and bottom, ensuring a tight fit.
6. Test the Door Seal Once installed, close the door and check for any drafts. A well-fitted weather stripping should create a tight seal. If you notice any gaps, you may need to adjust the stripping or apply additional material to ensure complete coverage.
Conclusion
Replacing door weather stripping is a straightforward process that can significantly improve your home’s energy efficiency. By following these steps, you can ensure that your doors are properly sealed, saving energy costs and enhancing comfort within your living space. Investing a little time and effort into this home maintenance task can yield significant benefits throughout the year. Don’t wait too long—check your weather stripping today!
-
Silicone Seal Strip: The Ultimate Solution for Your Sealing NeedNewsNov.01,2024
-
Keep the Heat: The Importance of Seal for Oven DoorsNewsNov.01,2024
-
Essential Guide to Corner Protectors for Your FurnitureNewsNov.01,2024
-
Enhance Your Home with Silicone SolutionsNewsNov.01,2024
-
Efficient Maintenance of Melamine Sealing StripsNewsNov.01,2024
-
Comparison of Different Edge Sealing ProcessesNewsNov.01,2024
-
Types of Door Bottom Seal Strips and Their Best UsesNewsOct.25,2024