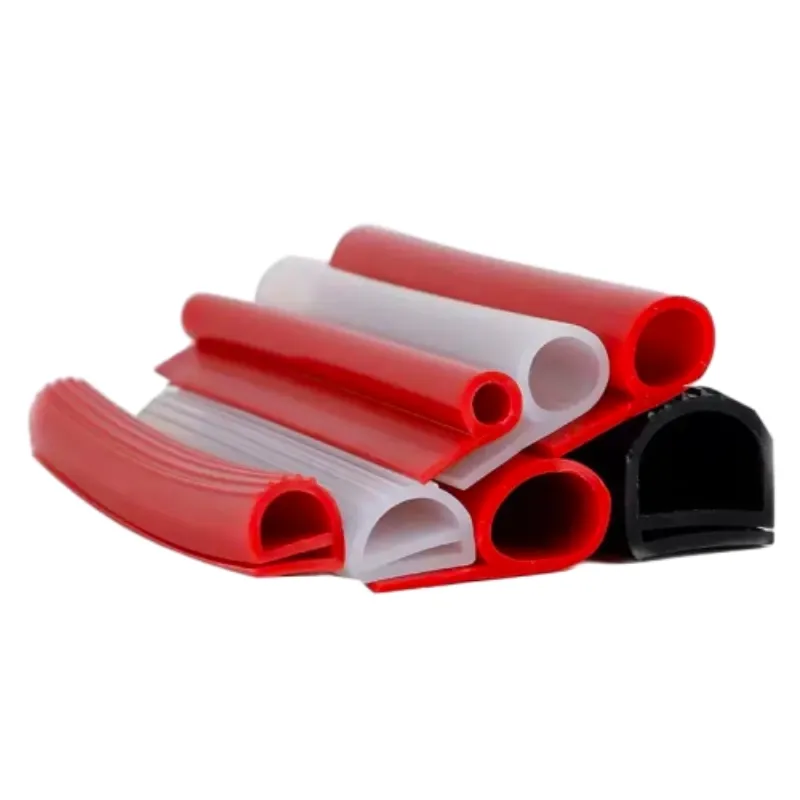
replacing front door seal
Replacing Front Door Seal A Step-by-Step Guide
The front door of your home serves as the primary entry point and plays a vital role in keeping your home secure and energy-efficient. Over time, the seal around your front door can wear out due to exposure to weather conditions, leading to drafts, noise infiltration, and even moisture issues. Replacing the front door seal is a straightforward DIY project that can enhance your home's comfort. Here’s how to do it.
Step 1 Gather Your Materials
Before you start, you'll need to collect some essential tools and materials. You will need a new door seal or weather stripping, a utility knife, scissors, a measuring tape, and adhesive (if your weather stripping requires it). Opt for high-quality weather stripping material such as foam, felt, or silicone to ensure longevity.
Step 2 Remove the Old Seal
Begin by inspecting your current door seal for any signs of damage or wear. Carefully peel it away from the door frame. If it's stuck, use your utility knife to cut it away gently. Make sure to remove any remnants of adhesive left on the frame, as this can prevent the new seal from sticking properly.
Step 3 Measure The Door Frame
Using your measuring tape, measure the length of the door frame where the seal will be applied. Take your time to ensure accuracy; having the right measurements is crucial for a snug fit. If you find your frame uneven, you may need to adjust your measurements accordingly.
replacing front door seal

Step 4 Cut the New Seal
Once you have the measurements, take your new weather stripping material and cut it down to size. If you're using a roll of weather stripping, it's often easier to cut it slightly longer than necessary; you can always trim it down later if needed.
Step 5 Apply the New Seal
Next, remove the backing from the adhesive side of your weather stripping (if applicable) and carefully place it along the door frame. Ensure that it fits snugly and forms a complete seal when the door is closed. Press down firmly to secure it in place.
Step 6 Test and Adjust
Close the door and check for any gaps. If you notice any drafts, you may need to adjust or reposition the seal to ensure it creates a tight barrier.
Conclusion
Replacing the front door seal is an easy yet impactful home maintenance task. Not only does it enhance energy efficiency by preventing drafts, but it also improves your home's overall comfort. Take the time to ensure you've done it correctly, and you'll find that a simple seal replacement can lead to significant improvements in your living space.
-
Silicone Seal Strip: The Ultimate Solution for Your Sealing NeedNewsNov.01,2024
-
Keep the Heat: The Importance of Seal for Oven DoorsNewsNov.01,2024
-
Essential Guide to Corner Protectors for Your FurnitureNewsNov.01,2024
-
Enhance Your Home with Silicone SolutionsNewsNov.01,2024
-
Efficient Maintenance of Melamine Sealing StripsNewsNov.01,2024
-
Comparison of Different Edge Sealing ProcessesNewsNov.01,2024
-
Types of Door Bottom Seal Strips and Their Best UsesNewsOct.25,2024