Telephone: +8618730949119
E-mail: 1299343081@qq.com
2 月 . 15, 2025 13:40
Back to list
oven seals replacement
When it comes to maintaining the optimal performance of your oven, one often overlooked component is the oven seal. While it might seem trivial, this part plays a crucial role in ensuring your oven operates efficiently. Replacing your oven seals not only improves cooking performance but also conserves energy, offering long-term savings. Here’s everything you need to know about oven seals replacement, from real experiences to expert advice, that will establish your understanding and trust in maintaining your kitchen appliances.
After cleaning the groove where the seal attaches, carefully fit the new seal in place, ensuring it aligns correctly with the identical hooks or clips. This process may require some gentle maneuvering to ensure the entire seal is seated correctly and securely. After installation, test the oven door to confirm that the seal is secure and the door closes snugly. An effective seal should not move easily and should compress slightly when the oven door is closed. Consulting professional guidance and seeking advice from appliance experts can offer reassurance and additional tips to enhance the longevity of your oven seal. Using a genuine product replacement boosts the entire appliance's efficiency, and regular checks and maintenance can avert future performance issues. Technicians can often recommend best practices unique to your oven model that can safeguard against accelerated wear of the seal. Credibility is fundamental in understanding when and how to replace your oven seals efficiently. Visiting forums, reading reviews, and watching instructional videos from certified sources fortify your knowledge and ensure every step you take is backed by authority in the field. When selecting a replacement seal, prioritizing those that come with manufacturer’s warranties or assurances of authenticity can further establish trust, ensuring product reliability. In conclusion, the replacement of oven seals is not simply a maintenance task but a necessary role in preserving the functionality and efficiency of your kitchen's heart. Investing time and effort into correctly replacing this often-overlooked component can deliver more consistent cooking outcomes and prolonged appliance life, while reducing energy consumption. Remember to engage with credible resources and expert advice to maintain the efficiency and reliability of your appliance, saving both time and money in the long run.
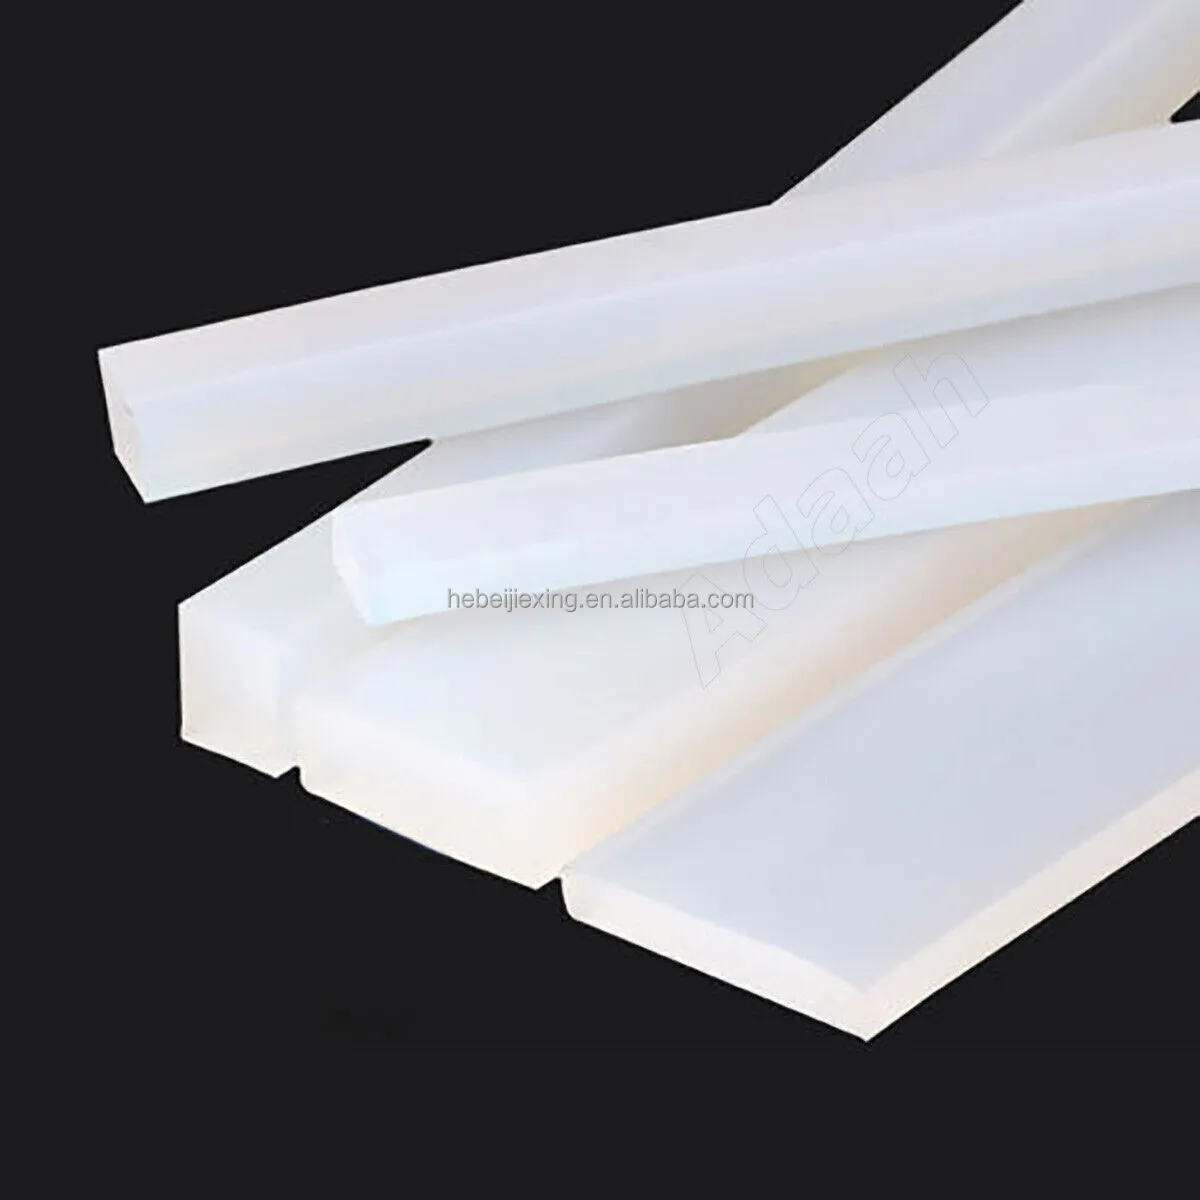
After cleaning the groove where the seal attaches, carefully fit the new seal in place, ensuring it aligns correctly with the identical hooks or clips. This process may require some gentle maneuvering to ensure the entire seal is seated correctly and securely. After installation, test the oven door to confirm that the seal is secure and the door closes snugly. An effective seal should not move easily and should compress slightly when the oven door is closed. Consulting professional guidance and seeking advice from appliance experts can offer reassurance and additional tips to enhance the longevity of your oven seal. Using a genuine product replacement boosts the entire appliance's efficiency, and regular checks and maintenance can avert future performance issues. Technicians can often recommend best practices unique to your oven model that can safeguard against accelerated wear of the seal. Credibility is fundamental in understanding when and how to replace your oven seals efficiently. Visiting forums, reading reviews, and watching instructional videos from certified sources fortify your knowledge and ensure every step you take is backed by authority in the field. When selecting a replacement seal, prioritizing those that come with manufacturer’s warranties or assurances of authenticity can further establish trust, ensuring product reliability. In conclusion, the replacement of oven seals is not simply a maintenance task but a necessary role in preserving the functionality and efficiency of your kitchen's heart. Investing time and effort into correctly replacing this often-overlooked component can deliver more consistent cooking outcomes and prolonged appliance life, while reducing energy consumption. Remember to engage with credible resources and expert advice to maintain the efficiency and reliability of your appliance, saving both time and money in the long run.
Next:
Latest news
-
Silicone Seal Strip: The Ultimate Solution for Your Sealing NeedNewsNov.01,2024
-
Keep the Heat: The Importance of Seal for Oven DoorsNewsNov.01,2024
-
Essential Guide to Corner Protectors for Your FurnitureNewsNov.01,2024
-
Enhance Your Home with Silicone SolutionsNewsNov.01,2024
-
Efficient Maintenance of Melamine Sealing StripsNewsNov.01,2024
-
Comparison of Different Edge Sealing ProcessesNewsNov.01,2024
-
Types of Door Bottom Seal Strips and Their Best UsesNewsOct.25,2024