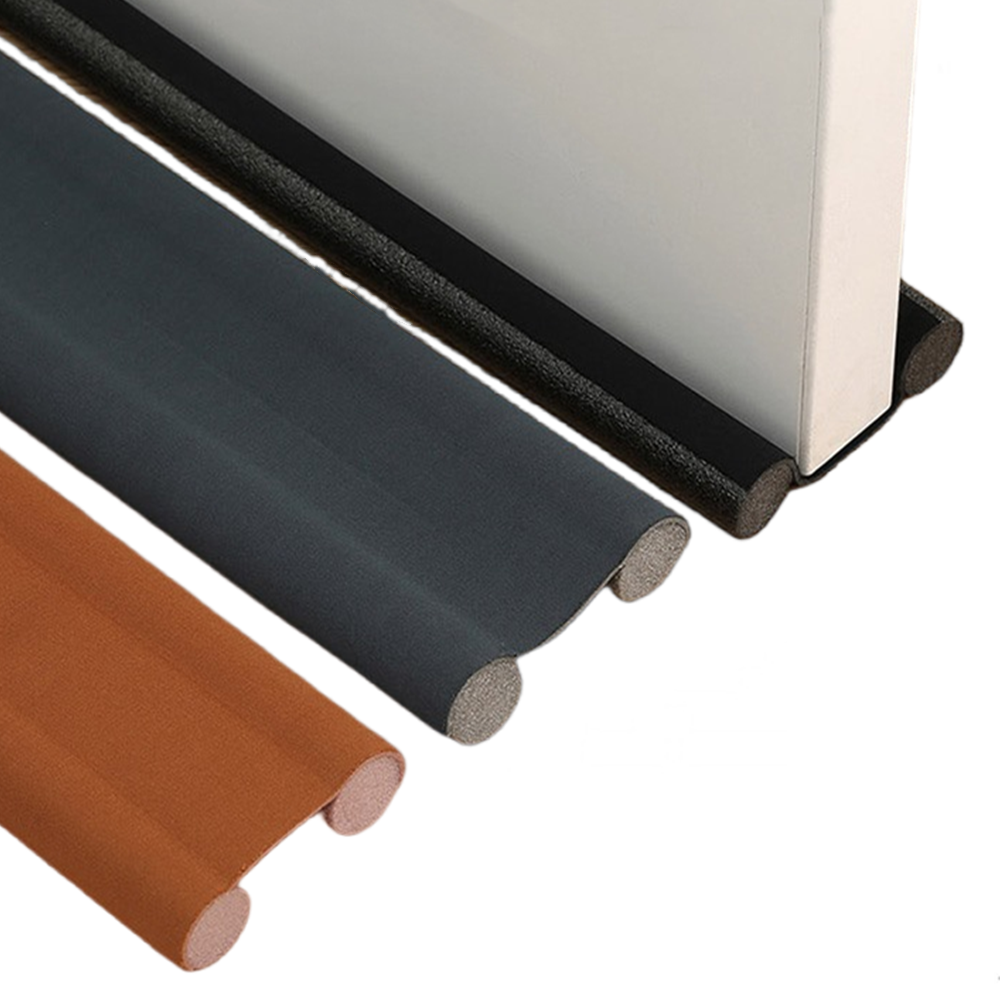
Oven Door Seal Replacement Tips for Efficient Cooking and Energy Savings
Replacing an Oven Door Seal A Comprehensive Guide
The oven is a central component of many kitchens, serving as a vital tool for baking, roasting, and broiling a variety of dishes. However, over time, certain parts of the oven, including the door seal, can wear down and affect its overall efficiency. Replacing the oven door seal is a straightforward task that can improve cooking performance and help maintain energy efficiency. In this article, we will explore the importance of the oven door seal, signs that it needs replacing, and a step-by-step guide on how to do it yourself.
Importance of the Oven Door Seal
The oven door seal, often made of silicone or fiberglass, plays a crucial role in maintaining the oven's temperature. A properly functioning seal ensures that heat stays inside the oven during cooking. This not only helps to cook food evenly but also preserves the energy used to power the oven. When the seal is compromised—due to wear and tear, damage, or improper installation—the oven has to work harder, leading to increased energy consumption and a decline in cooking results.
Signs Your Oven Door Seal Needs Replacing
1. Heat Loss If you notice that the oven temperature is inconsistent or takes longer than usual to preheat, it may be due to a faulty door seal. You can conduct a simple test by placing a piece of paper between the oven door and the body of the oven; if you can pull it out easily when the door is closed, it is a sign of a weak seal.
2. Cracking or Damage Visually inspect the seal for any signs of wear, such as cracks, tears, or missing pieces. If the seal appears damaged, it is time for a replacement.
3. Food Not Cooking Properly If you find that certain dishes are burning on the outside while remaining undercooked inside, it could be an indication that heat is escaping from the oven due to a poor seal.
Step-by-Step Guide to Replacing the Oven Door Seal
Step 1 Gather Materials
Before starting, ensure you have the necessary tools and materials on hand. You will need a replacement door seal, scissors (if adjustments are necessary), and possibly a screwdriver.
Step 2 Find the Right Replacement Seal
oven door seal replacement

Choosing the correct replacement seal is critical. Consult your oven's manual or look for the manufacturer’s model number to find the appropriate seal. Many kitchen appliance stores sell universal seals that may fit a variety of models.
Step 3 Remove the Old Seal
To remove the old seal, gently pull it away from the door. Be careful not to damage the surrounding areas. In some cases, the seal is held in place by clips or screws, which you will need to remove using a screwdriver.
Step 4 Clean the Area
Once the old seal is removed, clean the area where the new seal will be installed. Remove any debris, grease, or residue to ensure a secure fit for the new seal.
Step 5 Install the New Seal
Take the new seal and fit it into the groove around the door. If the seal has clips or screws, secure them accordingly. Make sure that the seal is snug and even all the way around the door to prevent any gaps.
Step 6 Test the Seal
After installation, close the oven door and perform the paper test again. If the paper stays in place with resistance, congratulations! You have successfully replaced your oven door seal.
Conclusion
Replacing an oven door seal is an important maintenance task that can enhance your cooking results and improve energy efficiency. With a few tools and a little effort, you can carry out this process yourself, ensuring your oven functions optimally for years to come. Regularly checking the condition of your oven door seal can save you time, energy, and money, making it a small yet significant investment in your kitchen.
-
Silicone Seal Strip: The Ultimate Solution for Your Sealing NeedNewsNov.01,2024
-
Keep the Heat: The Importance of Seal for Oven DoorsNewsNov.01,2024
-
Essential Guide to Corner Protectors for Your FurnitureNewsNov.01,2024
-
Enhance Your Home with Silicone SolutionsNewsNov.01,2024
-
Efficient Maintenance of Melamine Sealing StripsNewsNov.01,2024
-
Comparison of Different Edge Sealing ProcessesNewsNov.01,2024
-
Types of Door Bottom Seal Strips and Their Best UsesNewsOct.25,2024