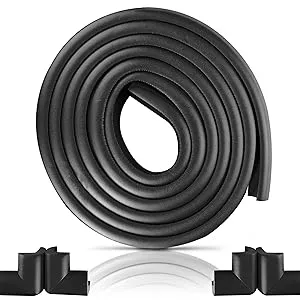
Installing a New Door Sweep for Improved Energy Efficiency and Draft Protection
Replacing a Door Sweep A Step-By-Step Guide
A door sweep is a simple yet effective solution to keep your home cozy while reducing energy costs. If you’ve noticed drafts, pests, or dirt creeping in through the gap at the bottom of your door, it might be time to replace your door sweep. This task is not only beneficial for energy efficiency but is also relatively easy to accomplish. Here’s a guide to help you replace a door sweep effectively.
Understanding a Door Sweep
A door sweep is a strip that is attached to the bottom of a door. It helps seal the gap between the door and the floor, preventing air from leaking in or out. Over time, door sweeps can wear out, crack, or become detached from the door. They can also become less effective due to natural wear and tear. Replacing a worn-out door sweep can drastically improve your home’s insulation.
Choosing the Right Door Sweep
Before you begin the replacement process, you’ll need to choose the appropriate door sweep for your needs. Door sweeps come in a variety of materials, including vinyl, rubber, and bristle. Vinyl and rubber are generally more durable and do an excellent job of keeping drafts out, while bristles can be more effective against pests. Make sure to measure the width of your door to ensure a proper fit.
Tools and Materials Needed
To replace a door sweep, you will need the following tools and materials
1. New door sweep 2. Measuring tape 3. Utility knife or scissors 4. Screwdriver or drill 5. Level 6. Adhesive (if not already included with the sweep)
replacing door sweep

Step-by-Step Replacement Process
1. Remove the Old Door Sweep Start by removing the old door sweep. Most sweeps are either screwed in or attached with adhesive. If screws are used, simply unscrew them with your screwdriver. For adhesive sweeps, gently pry it off using a utility knife or similar instrument.
2. Measure the Door Once the old sweep is removed, measure the width of your door again, ensuring you have an accurate measurement. This will assist you in trimming your new door sweep to the correct size.
3. Trim the New Door Sweep If your new door sweep is too long for your door, use your utility knife or scissors to trim it down to size. Make sure to cut it evenly to ensure a good seal.
4. Install the New Sweep Position the new sweep so that it aligns with the bottom of your door. If screws are included, use a drill or screwdriver to secure it in place. For adhesive sweeps, peel off the backing and press it firmly against the base of the door, ensuring there are no bubbles.
5. Check for Proper Fit After installation, close the door to ensure that the sweep makes contact with the floor. Use a level to see if the sweep is hanging evenly. If there are any gaps, adjust accordingly.
6. Test the Seal Once installed, test to see if the sweep is effective. You can do this by checking for drafts or using a flashlight to look for light coming through the gap. If you notice any issues, readjust the sweep as necessary.
Conclusion
Replacing a door sweep is a straightforward home improvement task that can enhance your living space's comfort and efficiency. By following this guide, you can ensure that your door operates smoothly and seals properly against the elements, contributing to a more energy-efficient and pest-free home. Don’t neglect this minor detail – it can make a significant difference in your daily comfort!
-
Silicone Seal Strip: The Ultimate Solution for Your Sealing NeedNewsNov.01,2024
-
Keep the Heat: The Importance of Seal for Oven DoorsNewsNov.01,2024
-
Essential Guide to Corner Protectors for Your FurnitureNewsNov.01,2024
-
Enhance Your Home with Silicone SolutionsNewsNov.01,2024
-
Efficient Maintenance of Melamine Sealing StripsNewsNov.01,2024
-
Comparison of Different Edge Sealing ProcessesNewsNov.01,2024
-
Types of Door Bottom Seal Strips and Their Best UsesNewsOct.25,2024