Telephone: +8618730949119
E-mail: 1299343081@qq.com
2 月 . 16, 2025 12:52
Back to list
how to replace the seal on an oven door
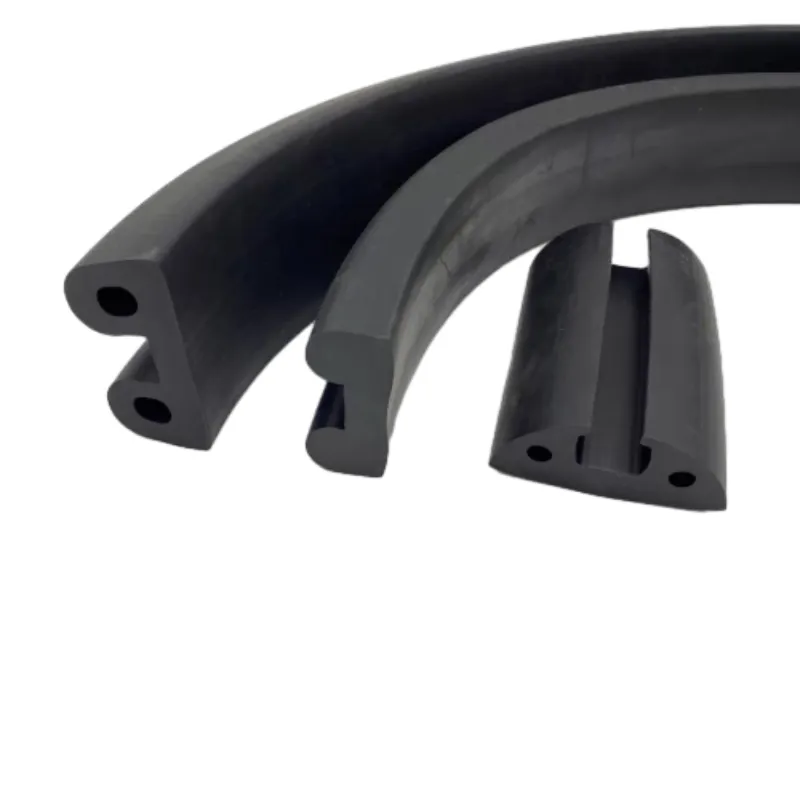
Replacing the seal on an oven door is a task that can significantly enhance the efficiency and performance of your kitchen appliance. Over time, the oven door seal, also known as a gasket, can wear out due to constant high temperatures and regular use. This can lead to heat escaping, resulting in uneven cooking and increased energy consumption. Here’s a comprehensive guide to help you expertly replace the seal on your oven door, ensuring optimal performance.
After removing the old gasket, it’s crucial to prepare the area for the new seal. Clean the groove or channel where the gasket was seated using a mixture of mild detergent and water. Remove any food particles, grease, or debris that could prevent the new seal from sitting correctly. This cleaning process also prevents potential odors when the oven is back in use. Now, it’s time to install the new oven door gasket. Begin by aligning one end of the seal with the corresponding groove in the oven door. Carefully press the gasket into place, working your way around the door frame. Ensure that the new seal is uniformly positioned and that it sits tightly within the groove or clips into place without gaps. With the new seal installed, conduct a thorough inspection. Close the oven door and look for any areas where the seal might not be making consistent contact with the oven frame. A flashlight can help you see whether the gasket is seating correctly. If necessary, adjust the positioning of the seal for optimal contact. Lastly, restore power to your oven and conduct a test run. Preheat the oven to ensure it reaches and retains the correct temperature. Observe if the oven maintains consistent heat without fluctuations, indicative of a properly sealed door. Replacing the seal on an oven door is an achievable task that promotes energy efficiency and enhances cooking results. By following this guide, you demonstrate diligence and expertise, ensuring your oven functions at peak performance. Regular maintenance like replacing a faulty gasket can extend the lifespan of your oven, providing reliable service for years to come.
After removing the old gasket, it’s crucial to prepare the area for the new seal. Clean the groove or channel where the gasket was seated using a mixture of mild detergent and water. Remove any food particles, grease, or debris that could prevent the new seal from sitting correctly. This cleaning process also prevents potential odors when the oven is back in use. Now, it’s time to install the new oven door gasket. Begin by aligning one end of the seal with the corresponding groove in the oven door. Carefully press the gasket into place, working your way around the door frame. Ensure that the new seal is uniformly positioned and that it sits tightly within the groove or clips into place without gaps. With the new seal installed, conduct a thorough inspection. Close the oven door and look for any areas where the seal might not be making consistent contact with the oven frame. A flashlight can help you see whether the gasket is seating correctly. If necessary, adjust the positioning of the seal for optimal contact. Lastly, restore power to your oven and conduct a test run. Preheat the oven to ensure it reaches and retains the correct temperature. Observe if the oven maintains consistent heat without fluctuations, indicative of a properly sealed door. Replacing the seal on an oven door is an achievable task that promotes energy efficiency and enhances cooking results. By following this guide, you demonstrate diligence and expertise, ensuring your oven functions at peak performance. Regular maintenance like replacing a faulty gasket can extend the lifespan of your oven, providing reliable service for years to come.
Latest news
-
Silicone Seal Strip: The Ultimate Solution for Your Sealing NeedNewsNov.01,2024
-
Keep the Heat: The Importance of Seal for Oven DoorsNewsNov.01,2024
-
Essential Guide to Corner Protectors for Your FurnitureNewsNov.01,2024
-
Enhance Your Home with Silicone SolutionsNewsNov.01,2024
-
Efficient Maintenance of Melamine Sealing StripsNewsNov.01,2024
-
Comparison of Different Edge Sealing ProcessesNewsNov.01,2024
-
Types of Door Bottom Seal Strips and Their Best UsesNewsOct.25,2024