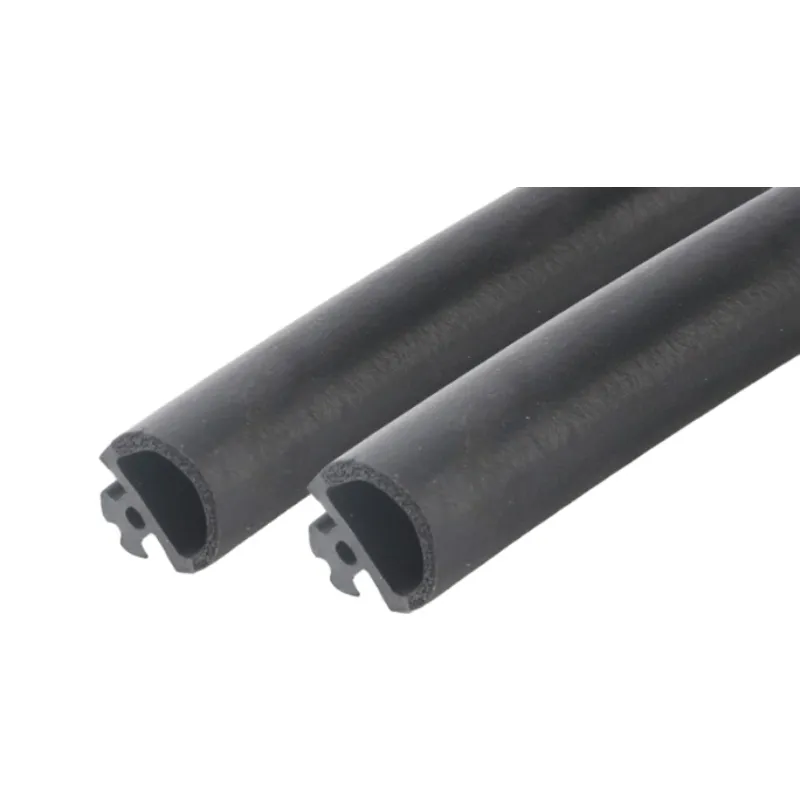
how to replace a stoves oven door seal
How to Replace a Stove's Oven Door Seal
Replacing the oven door seal on your stove is an essential maintenance task that ensures your oven operates efficiently. Over time, the seal can wear out or become damaged, leading to heat loss, longer cooking times, and increased energy bills. Fortunately, replacing the oven door seal is a straightforward process that you can accomplish with a few tools and some basic instructions.
Step 1 Gather Your Tools and Materials
Before you begin, you will need to gather the necessary tools and materials. For this project, you'll typically require
- A new oven door seal compatible with your stove model - A pair of scissors (if trimming is necessary) - A screwdriver (if your oven model requires it) - A cloth for cleaning
Make sure to consult your stove's manual for the exact specifications of the replacement seal, as seals are not universally compatible.
Step 2 Remove the Old Seal
1. Open the Oven Door Start by opening the oven door fully. This will give you ample space to work and access the seal.
2. Examine the Seal Check how the old seal is attached. It might be held in place by a groove or simply pressed in. If it's attached with screws, remove them using the screwdriver.
3. Detach the Seal Carefully pull the old seal out of its groove. You may need to tug a bit, but be gentle to avoid damaging the door surround. If there's any adhesive or residual clips, ensure these are removed as well.
how to replace a stoves oven door seal

Step 3 Clean the Surface
Once the old seal is removed, take a moment to clean the area where the new seal will be installed. Use a cloth to wipe away any grease, dirt, or debris. This ensures a good bond between the new seal and the oven door.
Step 4 Install the New Seal
1. Align the New Seal Start at one corner of the door, and press the new seal into the groove. Make sure it is evenly aligned throughout. If your seal is too long, use scissors to trim it to fit.
2. Secure the Seal If your model requires it, reinsert any screws to secure the seal in place. Otherwise, simply ensure it is pressed firmly into the groove and snug all around.
3. Check for Proper Fit Close the oven door and check that the seal fits tightly against the door when it is closed. It should create a snug fit, preventing heat escape.
Step 5 Test the Oven
Finally, it’s time to test your work! Turn on the oven and monitor how it performs. The stove should maintain heat much better now, allowing for more efficient cooking.
Replacing the oven door seal not only improves your oven’s efficiency but also enhances its longevity. With this simple guide, you can ensure that your oven is functioning at its best, helping you prepare meals more efficiently while saving on energy costs. Always remember to check the manufacturer’s instructions for specific details related to your stove model, and don’t hesitate to contact a professional if you encounter any issues during the replacement process.
-
Silicone Seal Strip: The Ultimate Solution for Your Sealing NeedNewsNov.01,2024
-
Keep the Heat: The Importance of Seal for Oven DoorsNewsNov.01,2024
-
Essential Guide to Corner Protectors for Your FurnitureNewsNov.01,2024
-
Enhance Your Home with Silicone SolutionsNewsNov.01,2024
-
Efficient Maintenance of Melamine Sealing StripsNewsNov.01,2024
-
Comparison of Different Edge Sealing ProcessesNewsNov.01,2024
-
Types of Door Bottom Seal Strips and Their Best UsesNewsOct.25,2024