Telephone: +8618730949119
E-mail: 1299343081@qq.com
2 月 . 16, 2025 12:17
Back to list
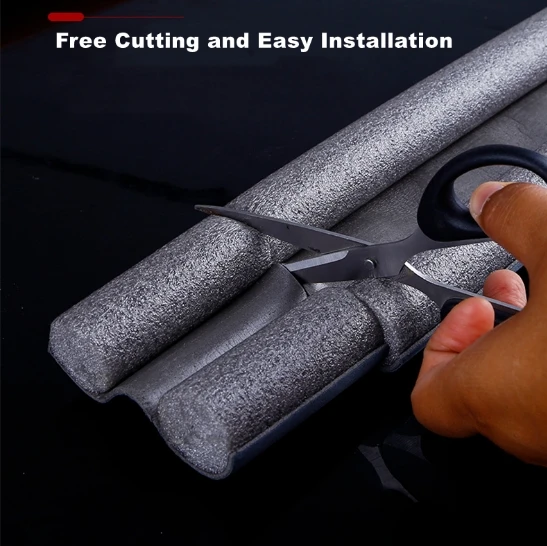
Factory Sale Industrial Black Shock Absorbing Epdm
Reinstalling the seal on your oven door doesn't have to be a complicated task. With the right guidance and understanding, anyone can tackle this job efficiently and restore their oven’s performance to its peak condition. Here's how you can correctly place the seal back on your oven door and regain optimal functionality.
Now, inspect the seal. If it’s the original and still in good condition, simply align it with the groove where it was initially placed. Reinstallation usually involves pressing the seal into the groove firmly. Ensure it is positioned evenly across all sides to prevent any air or heat leaks. In the case of a new seal, verify that it matches the old one in size and style. Different manufacturers and models may require unique seal types. Most replacement seals come with installation instructions; follow these diligently. Some seals are attached with clips or screws. If your model uses clips, ensure each clip is securely fastened. If screws are involved, tighten them sufficiently but avoid overtightening to prevent damaging the seal or door. Once you’re confident the seal is settled evenly and securely, reposition the door back onto its hinges. Again, handle this process carefully. Open and close the door a few times to check the seal's fit. The door should close snugly without force, indicating a proper seal installation. After reinstalling, turn your oven back on and conduct a heat test. Set the oven at a moderate temperature and let it operate for a few minutes. Check for any heat escaping around the door. Properly installed, the area around your oven door should remain cool to the touch, confirming the seal's efficiency. In conclusion, placing your oven door seal back requires attention to detail but can be easily managed by following these steps. Ensure you handle components with care and adhere to your manufacturer's guidance for the best outcome. Maintaining the door seal is key to an energy-efficient oven, ensuring your appliance serves you well for years. If uncertainty persists or issues arise, consulting a professional technician assures safety and efficiency. This straightforward yet impactful task enhances your culinary experiences by promoting an optimal cooking environment.

Now, inspect the seal. If it’s the original and still in good condition, simply align it with the groove where it was initially placed. Reinstallation usually involves pressing the seal into the groove firmly. Ensure it is positioned evenly across all sides to prevent any air or heat leaks. In the case of a new seal, verify that it matches the old one in size and style. Different manufacturers and models may require unique seal types. Most replacement seals come with installation instructions; follow these diligently. Some seals are attached with clips or screws. If your model uses clips, ensure each clip is securely fastened. If screws are involved, tighten them sufficiently but avoid overtightening to prevent damaging the seal or door. Once you’re confident the seal is settled evenly and securely, reposition the door back onto its hinges. Again, handle this process carefully. Open and close the door a few times to check the seal's fit. The door should close snugly without force, indicating a proper seal installation. After reinstalling, turn your oven back on and conduct a heat test. Set the oven at a moderate temperature and let it operate for a few minutes. Check for any heat escaping around the door. Properly installed, the area around your oven door should remain cool to the touch, confirming the seal's efficiency. In conclusion, placing your oven door seal back requires attention to detail but can be easily managed by following these steps. Ensure you handle components with care and adhere to your manufacturer's guidance for the best outcome. Maintaining the door seal is key to an energy-efficient oven, ensuring your appliance serves you well for years. If uncertainty persists or issues arise, consulting a professional technician assures safety and efficiency. This straightforward yet impactful task enhances your culinary experiences by promoting an optimal cooking environment.
Latest news
-
Silicone Seal Strip: The Ultimate Solution for Your Sealing NeedNewsNov.01,2024
-
Keep the Heat: The Importance of Seal for Oven DoorsNewsNov.01,2024
-
Essential Guide to Corner Protectors for Your FurnitureNewsNov.01,2024
-
Enhance Your Home with Silicone SolutionsNewsNov.01,2024
-
Efficient Maintenance of Melamine Sealing StripsNewsNov.01,2024
-
Comparison of Different Edge Sealing ProcessesNewsNov.01,2024
-
Types of Door Bottom Seal Strips and Their Best UsesNewsOct.25,2024