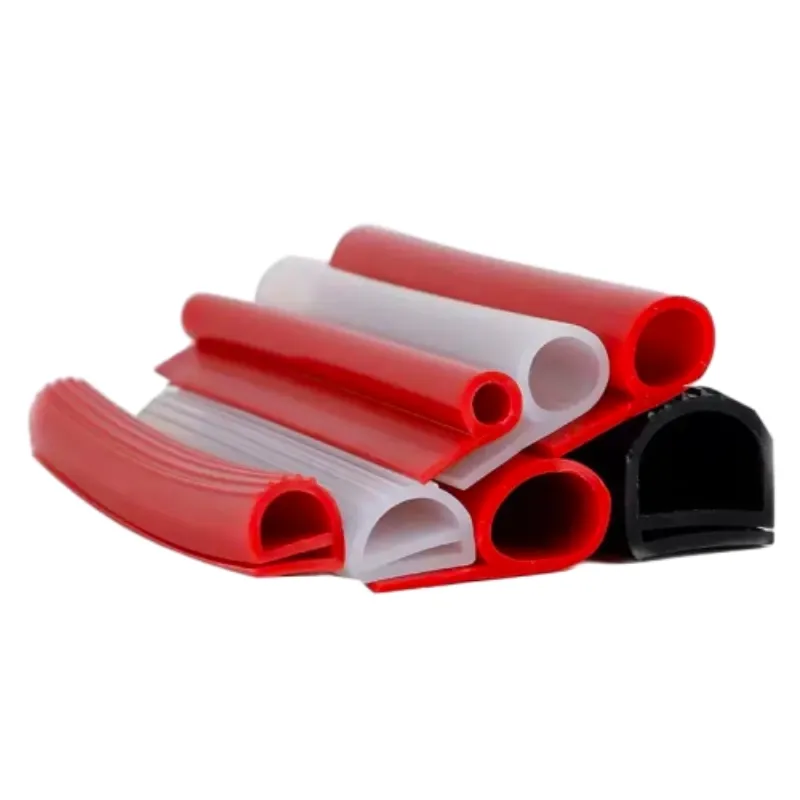
how to fix seal on oven door
How to Fix the Seal on Your Oven Door
A good oven door seal is essential for maintaining the temperature inside the oven and ensuring energy efficiency. If you've noticed that your oven isn't heating properly, or if you see food cooking unevenly, it may be time to inspect the door seal. Fortunately, fixing or replacing the seal is a straightforward process that can save you money on energy bills and improve your cooking results.
Inspect the Seal
Before you begin the fixing process, it's important to inspect the seal itself. Open the oven door and examine the rubber gasket around the door's edge. Look for any signs of wear and tear, such as cracks, tears, or areas where the seal has come loose. If the seal is dirty, clean it with warm, soapy water and a soft cloth to remove any grease or debris that may be interfering with the seal's effectiveness.
Gather Necessary Tools
Once you have assessed the condition of the seal, gather the tools you'll need for the repair. Typically, you will require a screwdriver, scissors or a utility knife, and a replacement oven seal (if necessary). Replacement seals can be purchased from appliance stores, hardware stores, or online, so ensure you get one that matches your oven's make and model.
Removing the Old Seal
If your inspection reveals that the seal is damaged beyond repair, it’s time to remove it. Carefully pull the old seal away from the door. Some seals are held in place by clips or screws, so use the screwdriver to remove any fasteners. Be cautious not to damage the door during this process; a gentle pull is usually all that's needed.
how to fix seal on oven door

Installing the New Seal
With the old seal removed, it’s time to install the new one. Start by aligning the new gasket with the groove around the oven door. Make sure it fits snugly in place. If your new seal has clips or screws, secure it using the appropriate fasteners. If it’s a simple push-fit design, press it firmly into the groove. Ensure there are no gaps where air could escape, as this will reduce the seal's effectiveness.
Testing the Seal
Once the new seal is in place, close the oven door to see if it seals properly. You can run a simple test by placing a piece of paper between the door and the oven itself. When you shut the door, try to pull the paper out. If it comes out easily, the seal may not be tight enough. If there’s resistance, your seal is functioning well.
Regular Maintenance
To prolong the life of your oven door seal, perform regular maintenance. Occasionally clean the seal with mild soap and water, and regularly check for signs of wear. Replace the seal as needed to ensure your oven operates efficiently and effectively.
In conclusion, fixing your oven door seal is a manageable DIY task that can lead to better cooking results and energy savings. By following these steps, you can keep your oven in top condition for years to come. Remember, a well-sealed oven is not only key to cooking but also contributes to the overall efficiency of your kitchen.
-
Silicone Seal Strip: The Ultimate Solution for Your Sealing NeedNewsNov.01,2024
-
Keep the Heat: The Importance of Seal for Oven DoorsNewsNov.01,2024
-
Essential Guide to Corner Protectors for Your FurnitureNewsNov.01,2024
-
Enhance Your Home with Silicone SolutionsNewsNov.01,2024
-
Efficient Maintenance of Melamine Sealing StripsNewsNov.01,2024
-
Comparison of Different Edge Sealing ProcessesNewsNov.01,2024
-
Types of Door Bottom Seal Strips and Their Best UsesNewsOct.25,2024