Telephone: +8618730949119
E-mail: 1299343081@qq.com
2 月 . 16, 2025 01:25
Back to list
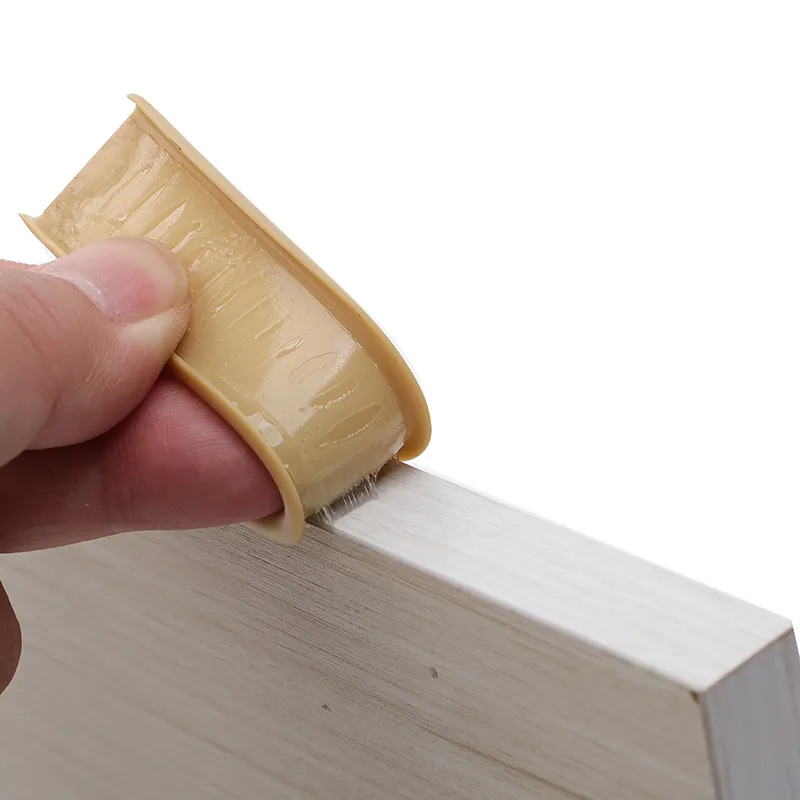
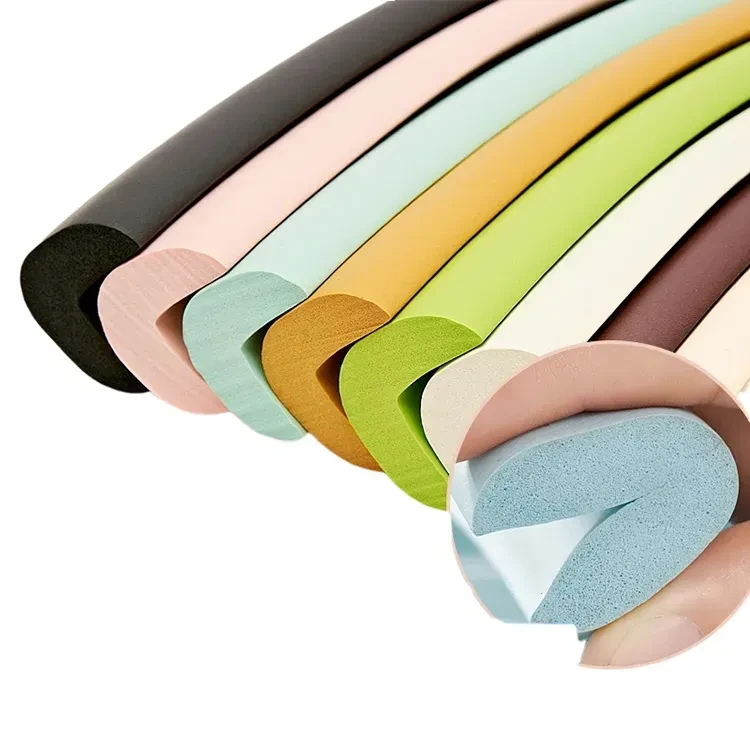
Edge Banding Tape Furniture Wood Board Cabinet Tab
Oven maintenance often gets overlooked amidst our busy routines, yet much like a culinary domino effect, one simple oversight can lead to a cascade of issues. A common culprit is the oven door seal, a small yet mighty component crucial for efficient cooking. When the seal is compromised, heat escapes, leading to undercooked meals and wasted energy— a scenario most of us are too familiar with. Here’s a comprehensive guide on how to fix a seal on an oven door, ensuring both your culinary creations and energy bills remain satisfactory.
When installing a new seal, measure it against your old one. Some seals might require cutting to fit; if so, use sharp shears for a precise cut. Begin attaching from the top center of the door, working your way down the sides. This method ensures the new seal aligns perfectly with the door's edges. For a clip-on seal, press firmly into place, listening for the audible click that signals the seal is secure. For screwed brackets, ensure the screws are tightened uniformly to maintain an even pressure across the seal. Sometimes, merely cleaning or adjusting a seal suffices if it’s not severely damaged. In such instances, check for misalignments and, if necessary, realign the door using the adjustment screws typically located near the hinges. Understanding when a professional touch is needed also underscores the principles of Experience and Expertise. If the oven continues to perform inadequately despite a replaced seal, this anomaly could indicate internal thermostat issues or calibration problems—matters best left to certified technicians. The benefits of maintaining a pristine seal are as clear as a bell you conserve energy, protect your appliance's longevity, and ensure perfectly cooked meals every time. Moreover, this simple act of maintenance enhances an oven's resale value, a noteworthy nugget for those considering an upgrade in their kitchen appliances. In conclusion, while fixing an oven seal might seem daunting to the inexperienced, it ultimately saves both time and money in the long haul. True, it’s an unsung hero of kitchen efficiency, but one well worth the attention. Taking the step to repair or replace it not only fortifies your culinary efforts but also underscores your commitment to sustainable practices—qualities that shine brightly in our modern world.
When installing a new seal, measure it against your old one. Some seals might require cutting to fit; if so, use sharp shears for a precise cut. Begin attaching from the top center of the door, working your way down the sides. This method ensures the new seal aligns perfectly with the door's edges. For a clip-on seal, press firmly into place, listening for the audible click that signals the seal is secure. For screwed brackets, ensure the screws are tightened uniformly to maintain an even pressure across the seal. Sometimes, merely cleaning or adjusting a seal suffices if it’s not severely damaged. In such instances, check for misalignments and, if necessary, realign the door using the adjustment screws typically located near the hinges. Understanding when a professional touch is needed also underscores the principles of Experience and Expertise. If the oven continues to perform inadequately despite a replaced seal, this anomaly could indicate internal thermostat issues or calibration problems—matters best left to certified technicians. The benefits of maintaining a pristine seal are as clear as a bell you conserve energy, protect your appliance's longevity, and ensure perfectly cooked meals every time. Moreover, this simple act of maintenance enhances an oven's resale value, a noteworthy nugget for those considering an upgrade in their kitchen appliances. In conclusion, while fixing an oven seal might seem daunting to the inexperienced, it ultimately saves both time and money in the long haul. True, it’s an unsung hero of kitchen efficiency, but one well worth the attention. Taking the step to repair or replace it not only fortifies your culinary efforts but also underscores your commitment to sustainable practices—qualities that shine brightly in our modern world.
Latest news
-
Silicone Seal Strip: The Ultimate Solution for Your Sealing NeedNewsNov.01,2024
-
Keep the Heat: The Importance of Seal for Oven DoorsNewsNov.01,2024
-
Essential Guide to Corner Protectors for Your FurnitureNewsNov.01,2024
-
Enhance Your Home with Silicone SolutionsNewsNov.01,2024
-
Efficient Maintenance of Melamine Sealing StripsNewsNov.01,2024
-
Comparison of Different Edge Sealing ProcessesNewsNov.01,2024
-
Types of Door Bottom Seal Strips and Their Best UsesNewsOct.25,2024