Telephone: +8618730949119
E-mail: 1299343081@qq.com
2 月 . 15, 2025 19:15
Back to list
how to fix oven seal
Fixing an oven seal might seem like a daunting task, but with a little guidance and the right tools, it can be accomplished efficiently. Worn or damaged oven seals not only compromise cooking efficiency but can also escalate energy consumption. This step-by-step guide will walk you through the process of fixing your oven seal, ensuring optimal performance and energy savings.
1. Safety First Before starting, ensure the oven is turned off and unplugged. This simple precaution prevents accidents and ensures a safe working environment. 2. Removing the Old Seal Begin by locating the points where the seal is attached. Most oven seals are attached with clips or screws that can be easily undone. Using a screwdriver or pliers, carefully remove the attachments. Gently pull the old seal away from the oven, taking note of the attachment method for reference when installing the new seal. 3. Cleaning the Area Once the old seal is removed, you might notice grease or food residue built up in the groove where the seal sits. Clean this area thoroughly using a mild detergent and a damp cloth. This step is crucial as a clean surface ensures better adherence and performance of the new seal. 4. Installing the New Seal Take your replacement seal and align it with the groove. Beginning at one end, slowly press the seal into place, ensuring it sits flush within the groove. If attachments are required, secure the seal using clips or screws as needed. It’s crucial to not under-tighten, as this could lead to poor sealing, but also avoid over-tightening, which could damage the seal or the oven. 5. Testing the Seal After installation, close the oven door to check the seal's fit. The door should close snugly without forcing it, indicating a proper seal. Conduct a quick test by turning on the oven and checking for heat escaping from the door. If you feel heat leaking, revisit the installation process to ensure everything is securely in place. Maintaining Your Oven Seal To prolong the life of your oven seal, regular cleaning is recommended. Wipe down the seal with a damp cloth after usage to prevent the buildup of food particles and grease. Furthermore, avoid using harsh chemicals that might degrade the material over time. Conclusion By following these steps, not only will you have restored your oven’s efficiency, but you will also have extended its lifespan. A well-maintained oven contributes significantly to energy savings and optimal cooking, ensuring your culinary endeavors are both successful and sustainable. Remember, if you encounter significant issues beyond the seal, consulting a professional technician is always advisable to avoid further complications.
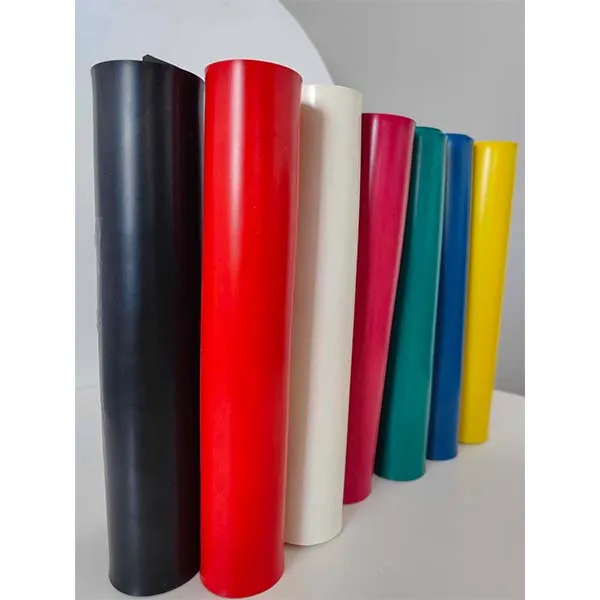
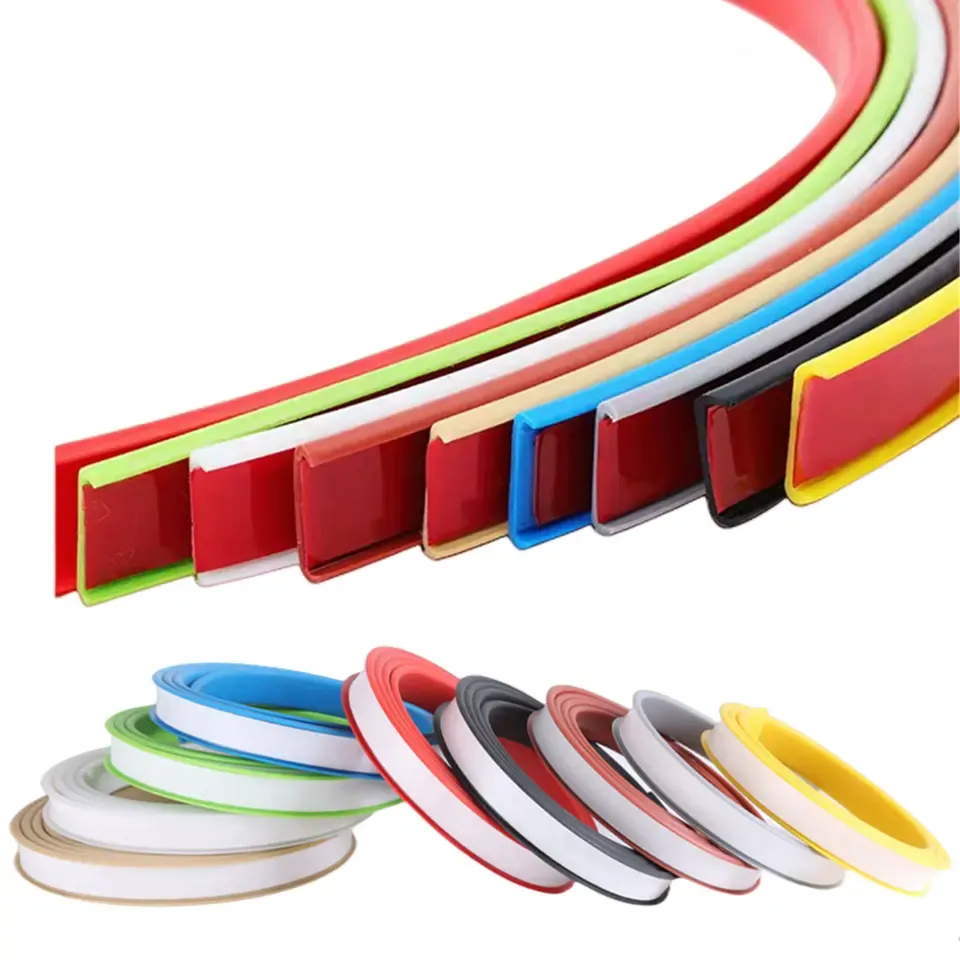
1. Safety First Before starting, ensure the oven is turned off and unplugged. This simple precaution prevents accidents and ensures a safe working environment. 2. Removing the Old Seal Begin by locating the points where the seal is attached. Most oven seals are attached with clips or screws that can be easily undone. Using a screwdriver or pliers, carefully remove the attachments. Gently pull the old seal away from the oven, taking note of the attachment method for reference when installing the new seal. 3. Cleaning the Area Once the old seal is removed, you might notice grease or food residue built up in the groove where the seal sits. Clean this area thoroughly using a mild detergent and a damp cloth. This step is crucial as a clean surface ensures better adherence and performance of the new seal. 4. Installing the New Seal Take your replacement seal and align it with the groove. Beginning at one end, slowly press the seal into place, ensuring it sits flush within the groove. If attachments are required, secure the seal using clips or screws as needed. It’s crucial to not under-tighten, as this could lead to poor sealing, but also avoid over-tightening, which could damage the seal or the oven. 5. Testing the Seal After installation, close the oven door to check the seal's fit. The door should close snugly without forcing it, indicating a proper seal. Conduct a quick test by turning on the oven and checking for heat escaping from the door. If you feel heat leaking, revisit the installation process to ensure everything is securely in place. Maintaining Your Oven Seal To prolong the life of your oven seal, regular cleaning is recommended. Wipe down the seal with a damp cloth after usage to prevent the buildup of food particles and grease. Furthermore, avoid using harsh chemicals that might degrade the material over time. Conclusion By following these steps, not only will you have restored your oven’s efficiency, but you will also have extended its lifespan. A well-maintained oven contributes significantly to energy savings and optimal cooking, ensuring your culinary endeavors are both successful and sustainable. Remember, if you encounter significant issues beyond the seal, consulting a professional technician is always advisable to avoid further complications.
Latest news
-
Silicone Seal Strip: The Ultimate Solution for Your Sealing NeedNewsNov.01,2024
-
Keep the Heat: The Importance of Seal for Oven DoorsNewsNov.01,2024
-
Essential Guide to Corner Protectors for Your FurnitureNewsNov.01,2024
-
Enhance Your Home with Silicone SolutionsNewsNov.01,2024
-
Efficient Maintenance of Melamine Sealing StripsNewsNov.01,2024
-
Comparison of Different Edge Sealing ProcessesNewsNov.01,2024
-
Types of Door Bottom Seal Strips and Their Best UsesNewsOct.25,2024