Telephone: +8618730949119
E-mail: 1299343081@qq.com
2 月 . 16, 2025 11:18
Back to list
Drainage Non Slip Mat, Commercial PVC Floor Mat
Mastering the installation of a universal oven door seal can significantly enhance your home's kitchen efficiency and extend the lifespan of your appliance. An improperly sealed oven can lead to heat loss, increased energy consumption, and uneven cooking, undermining your culinary efforts. Knowing how to fit a universal oven door seal encompasses understanding its importance, choosing the right seal, and executing a flawless installation.
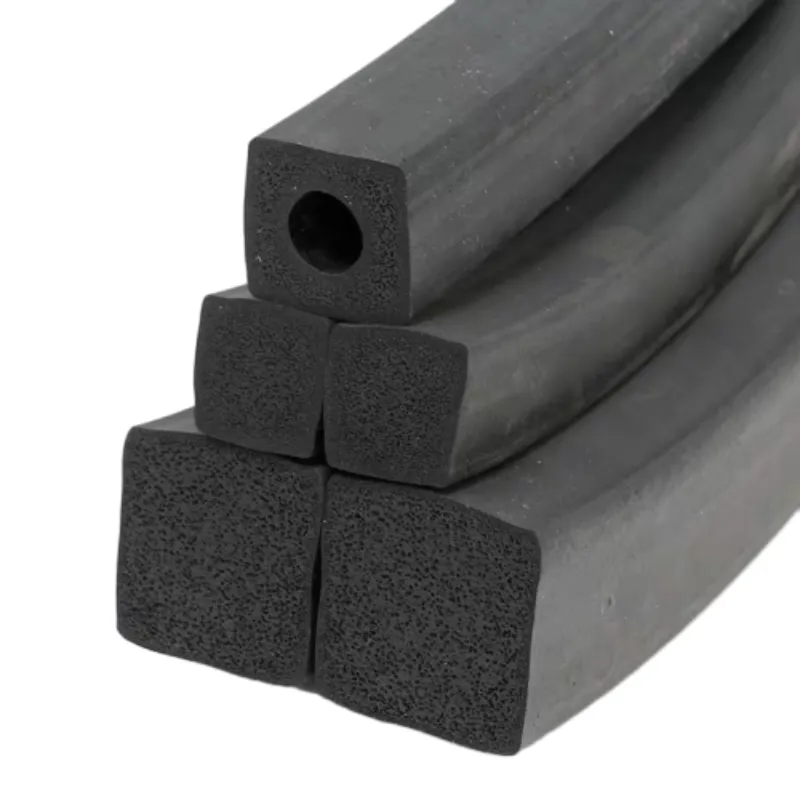
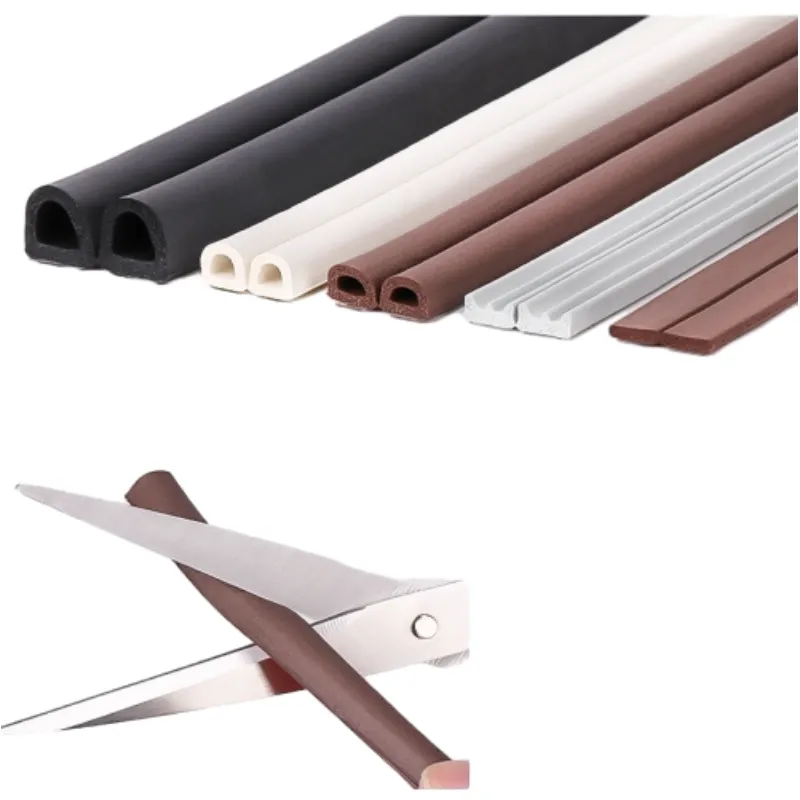
1. Remove the Existing Seal Open your oven door and locate the seal, usually secured around the perimeter. Gently tug it free from its anchoring points, using a screwdriver to loosen any particularly stubborn areas. 2. Clean the Surface Over time, grease and grime accumulate along the oven door frame. Use a gentle detergent and a clean cloth to remove any residue. A clean surface ensures the new seal adheres properly and functions at its best. 3. Measure and Cut the New Seal Lay the new universal seal out and measure against your oven door's perimeter. Carefully cut the seal, preferably with scissors, to ensure a clean, precise edge. Remember to consider any bends or corners to avoid shortages. 4. Install the New Seal Begin at one corner of the oven door. Insert the corner clips or anchoring pins of the new seal into the original slots. Stretch the seal along the frame, ensuring it is taut and aligned correctly. Fit the seal evenly into each corner to prevent air gaps. 5. Test the Seal Once installed, close the oven door to check for any misalignments or openings. If the door requires excessive force to close, the seal may be too tight, necessitating a slight adjustment. Benefits of a Properly Installed Oven Door Seal Ensuring an optimal fit of a universal oven door seal not only enhances energy efficiency by minimizing heat loss but also contributes to consistent cooking results by maintaining a stable internal oven temperature. This simple yet crucial task can also prevent heat from damaging surrounding kitchen fixtures and reduce the frequency of cooking errors. Understanding the process and taking the time to install the seal correctly reflects a dedication to maintaining household appliances. A high-quality universal seal serves as an investment in your kitchen's functionality, underlining the importance of household appliance upkeep. With this knowledge and expertise, homeowners can confidently tackle this straightforward maintenance task and enjoy a more efficient, longer-lasting oven performance.
1. Remove the Existing Seal Open your oven door and locate the seal, usually secured around the perimeter. Gently tug it free from its anchoring points, using a screwdriver to loosen any particularly stubborn areas. 2. Clean the Surface Over time, grease and grime accumulate along the oven door frame. Use a gentle detergent and a clean cloth to remove any residue. A clean surface ensures the new seal adheres properly and functions at its best. 3. Measure and Cut the New Seal Lay the new universal seal out and measure against your oven door's perimeter. Carefully cut the seal, preferably with scissors, to ensure a clean, precise edge. Remember to consider any bends or corners to avoid shortages. 4. Install the New Seal Begin at one corner of the oven door. Insert the corner clips or anchoring pins of the new seal into the original slots. Stretch the seal along the frame, ensuring it is taut and aligned correctly. Fit the seal evenly into each corner to prevent air gaps. 5. Test the Seal Once installed, close the oven door to check for any misalignments or openings. If the door requires excessive force to close, the seal may be too tight, necessitating a slight adjustment. Benefits of a Properly Installed Oven Door Seal Ensuring an optimal fit of a universal oven door seal not only enhances energy efficiency by minimizing heat loss but also contributes to consistent cooking results by maintaining a stable internal oven temperature. This simple yet crucial task can also prevent heat from damaging surrounding kitchen fixtures and reduce the frequency of cooking errors. Understanding the process and taking the time to install the seal correctly reflects a dedication to maintaining household appliances. A high-quality universal seal serves as an investment in your kitchen's functionality, underlining the importance of household appliance upkeep. With this knowledge and expertise, homeowners can confidently tackle this straightforward maintenance task and enjoy a more efficient, longer-lasting oven performance.
Latest news
-
Silicone Seal Strip: The Ultimate Solution for Your Sealing NeedNewsNov.01,2024
-
Keep the Heat: The Importance of Seal for Oven DoorsNewsNov.01,2024
-
Essential Guide to Corner Protectors for Your FurnitureNewsNov.01,2024
-
Enhance Your Home with Silicone SolutionsNewsNov.01,2024
-
Efficient Maintenance of Melamine Sealing StripsNewsNov.01,2024
-
Comparison of Different Edge Sealing ProcessesNewsNov.01,2024
-
Types of Door Bottom Seal Strips and Their Best UsesNewsOct.25,2024