Telephone: +8618730949119
E-mail: 1299343081@qq.com
2 月 . 16, 2025 10:22
Back to list
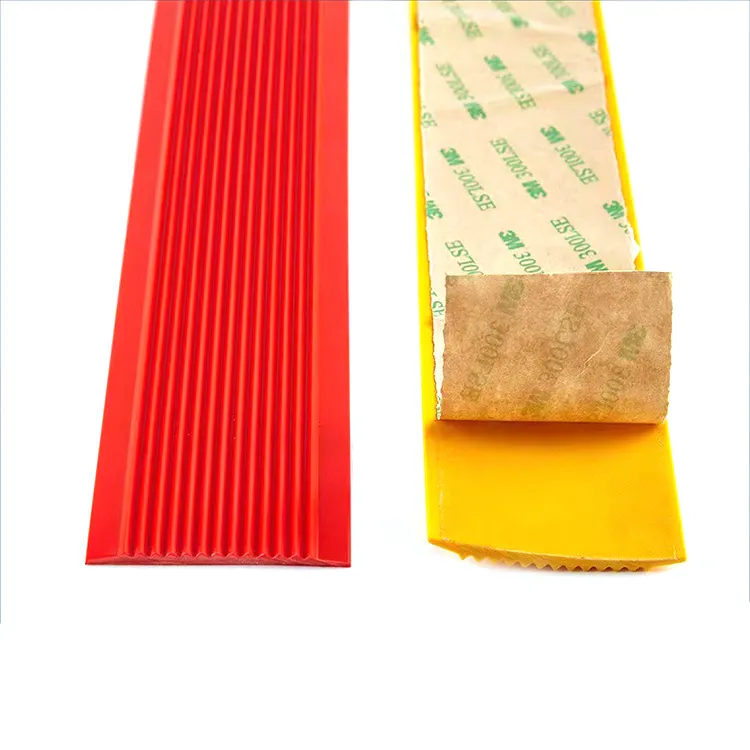
Baby proofing edge corner protector 2m soft rubber
Installing an oven door seal may seem daunting, but with the right guidance, it can be a simple and satisfying DIY project. The seal on your oven door is critical for maintaining optimal cooking temperatures and ensuring safety, so ensuring it is in prime condition is important.
Install the New Oven Door Seal For clip-on seals, begin by attaching one end of the seal into a corner and continue fitting it along the door, pressing the clips into their respective holes. Ensure each clip is securely fastened to prevent gaps, which could hamper the seal's effectiveness. If the seal is adhesive, remove the adhesive backing incrementally as you press the seal around the door edge. This gradual method helps maintain alignment and prevents adhesive misplacement. Finalize and Test Once the new seal is installed, close the oven door carefully. Check for alignment, ensuring there are no gaps or misplacements. Open and close the door a few times to test the seal's fit and functionality. The door should close snugly without excessive force, maintaining a consistent line around the oven's perimeter. Verify the Seal's Effectiveness To ensure the seal is performing optimally, conduct a simple heat test. Preheat your oven to a typical baking temperature and feel around the door's perimeter with your hand. There should be minimal heat leakage, indicating the seal is doing its job. Should you detect significant heat escaping, re-examine the fit for any discrepancies or missed sections. Maintaining the Oven Door Seal Routine maintenance of the oven door seal prolongs its efficacy and lifespan. Regularly wipe down the seal with a damp cloth to remove any accumulated grime. Avoid using abrasive cleaners or scouring pads which could damage the seal material. Replacing an oven door seal is a straightforward task that can drastically enhance your oven’s efficiency. With diligent care and precise installation, your appliance will operate safely and effectively, providing you with flawless culinary results. Implement these steps today, and experience the confidence of a well-maintained kitchen.

Install the New Oven Door Seal For clip-on seals, begin by attaching one end of the seal into a corner and continue fitting it along the door, pressing the clips into their respective holes. Ensure each clip is securely fastened to prevent gaps, which could hamper the seal's effectiveness. If the seal is adhesive, remove the adhesive backing incrementally as you press the seal around the door edge. This gradual method helps maintain alignment and prevents adhesive misplacement. Finalize and Test Once the new seal is installed, close the oven door carefully. Check for alignment, ensuring there are no gaps or misplacements. Open and close the door a few times to test the seal's fit and functionality. The door should close snugly without excessive force, maintaining a consistent line around the oven's perimeter. Verify the Seal's Effectiveness To ensure the seal is performing optimally, conduct a simple heat test. Preheat your oven to a typical baking temperature and feel around the door's perimeter with your hand. There should be minimal heat leakage, indicating the seal is doing its job. Should you detect significant heat escaping, re-examine the fit for any discrepancies or missed sections. Maintaining the Oven Door Seal Routine maintenance of the oven door seal prolongs its efficacy and lifespan. Regularly wipe down the seal with a damp cloth to remove any accumulated grime. Avoid using abrasive cleaners or scouring pads which could damage the seal material. Replacing an oven door seal is a straightforward task that can drastically enhance your oven’s efficiency. With diligent care and precise installation, your appliance will operate safely and effectively, providing you with flawless culinary results. Implement these steps today, and experience the confidence of a well-maintained kitchen.
Latest news
-
Silicone Seal Strip: The Ultimate Solution for Your Sealing NeedNewsNov.01,2024
-
Keep the Heat: The Importance of Seal for Oven DoorsNewsNov.01,2024
-
Essential Guide to Corner Protectors for Your FurnitureNewsNov.01,2024
-
Enhance Your Home with Silicone SolutionsNewsNov.01,2024
-
Efficient Maintenance of Melamine Sealing StripsNewsNov.01,2024
-
Comparison of Different Edge Sealing ProcessesNewsNov.01,2024
-
Types of Door Bottom Seal Strips and Their Best UsesNewsOct.25,2024