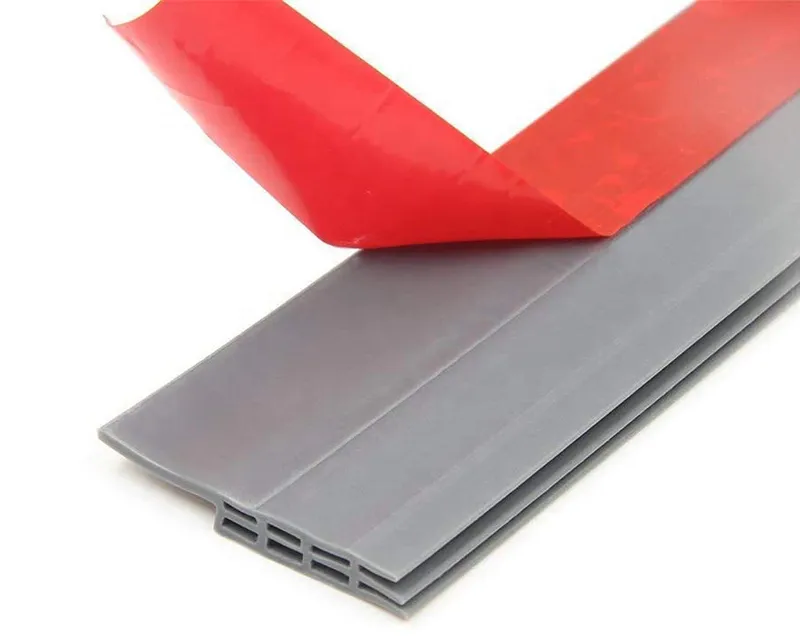
How to Replace an Oven Gasket
How to Replace an Oven Gasket
Replacing the oven gasket is a straightforward task that can enhance the efficiency of your oven while ensuring even cooking. Over time, oven gaskets can wear out, becoming brittle or cracked, which allows heat to escape and can lead to higher energy bills and uneven cooking results. Here’s a step-by-step guide on how to replace your oven gasket effectively.
Materials Needed
- New oven gasket (specific to your oven model) - Scissors or utility knife - Cleaning cloth - Screwdriver (if necessary) - Silicone adhesive (optional)
Step-by-Step Guide
1. Turn Off the Oven Before starting, ensure your oven is completely turned off and cool to the touch. Safety should always be your top priority when working with appliances.
2. Remove the Old Gasket Open the oven door and inspect the existing gasket. It may be held in place by a simple friction fit or may be attached with screws. If it’s the latter, use a screwdriver to remove any screws securing the gasket. Gently pull away the old gasket. Take note of how it was installed, as this will help you with the new one.
3. Clean the Area Once the old gasket is removed, clean the area around the door frame where the gasket sits. Use a damp cloth to wipe away any grease, grime, or debris. This step is essential to ensure a proper seal with the new gasket.
how to replace oven gasket

4. Prepare the New Gasket Take the new gasket out of its packaging and compare it to the old one. Ensure it is the correct size and shape for your oven model. If your new gasket is too long, you may need to trim it to size using scissors or a utility knife.
5. Install the New Gasket Start at one corner of the oven door and press the new gasket into place. If your oven has a groove for the gasket, make sure it sits securely. Work your way around the door, pressing the gasket into the groove or aligning it with the frame. If screws were used, ensure they are properly tightened without over-torquing, which can damage the gasket.
6. Seal the Gasket (if necessary) Some gaskets may require a sealant to hold them in place. If your new gasket comes with adhesive backing, simply press it firmly against the oven door. If not, apply a bead of silicone adhesive around the gasket before finalizing its positioning.
7. Test the Door Seal Once installed, close the oven door gently to check if there’s a tight seal. A good seal means you should not be able to see light or feel cool air seeping through.
8. Final Cleanup Wipe down the area again to remove any excess adhesive or dirt. Allow any adhesives to cure according to the manufacturer's instructions before using the oven.
Conclusion
Replacing an oven gasket can significantly improve your appliance's performance, ensuring proper heat retention and making your cooking more efficient. With a bit of effort, you can tackle this project yourself and enjoy better baking and roasting results.
-
Silicone Seal Strip: The Ultimate Solution for Your Sealing NeedNewsNov.01,2024
-
Keep the Heat: The Importance of Seal for Oven DoorsNewsNov.01,2024
-
Essential Guide to Corner Protectors for Your FurnitureNewsNov.01,2024
-
Enhance Your Home with Silicone SolutionsNewsNov.01,2024
-
Efficient Maintenance of Melamine Sealing StripsNewsNov.01,2024
-
Comparison of Different Edge Sealing ProcessesNewsNov.01,2024
-
Types of Door Bottom Seal Strips and Their Best UsesNewsOct.25,2024