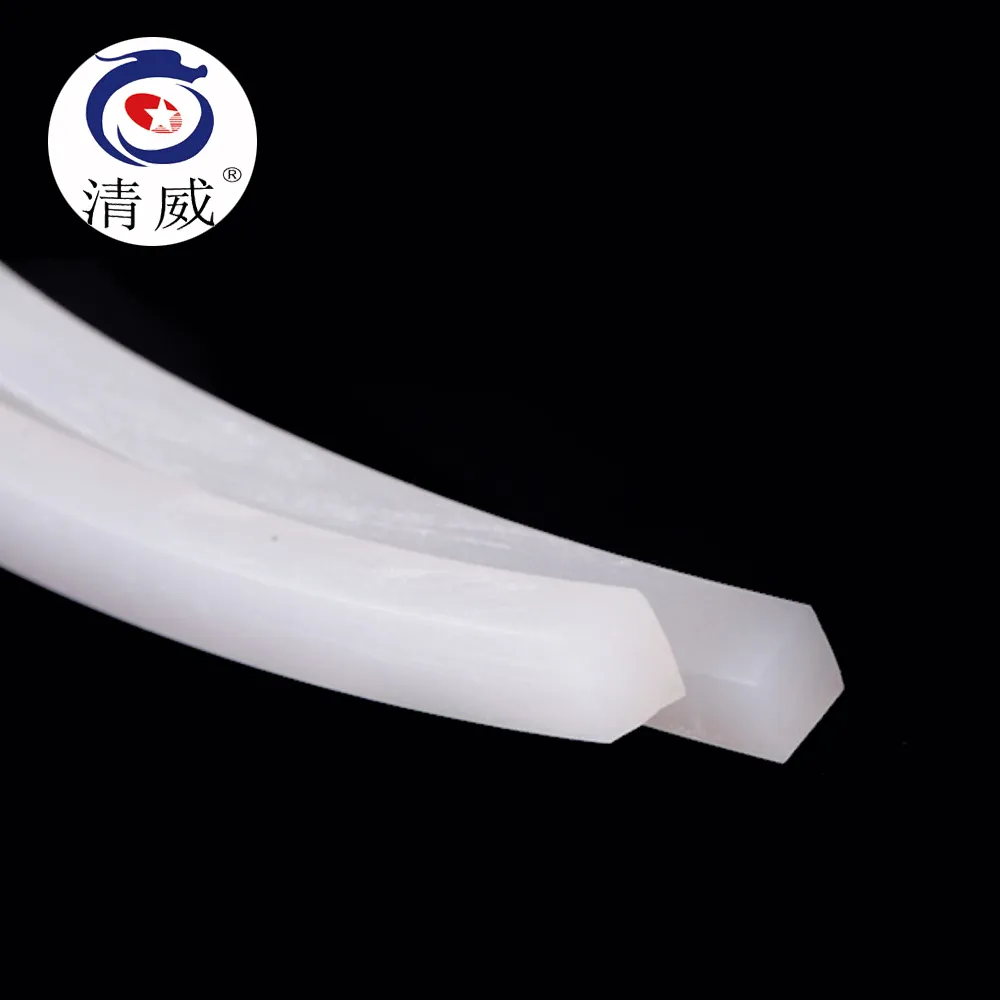
how to fix oven seal
How to Fix an Oven Seal A Step-by-Step Guide
An oven seal, also known as a door gasket, is an essential component of your oven that ensures heat remains inside while cooking. Over time, this seal can wear out, tear, or become loose, leading to inefficient cooking and increased energy consumption. If you're facing such issues, don't worry! Here’s a step-by-step guide on how to fix an oven seal.
Step 1 Identify the Problem
Start by examining your oven seal for any visible signs of wear and tear such as cracks, holes, or fraying. A compromised seal may not only affect cooking efficiency but can also cause uneven baking. If the seal is dirty or greasy, a thorough cleaning might help restore some functionality, but in most cases, replacement is the best option.
Step 2 Gather Your Supplies
Before you begin, gather the necessary tools and materials. You'll typically need a replacement oven seal, which you can purchase online or at an appliance store. Additionally, keep a screwdriver, a measuring tape, and a utility knife handy to assist with the process.
Step 3 Remove the Old Seal
To remove the old seal, start by opening the oven door fully. Locate the screws that hold the seal in place, often found inside the door frame. Using a screwdriver, carefully take out the screws. If the seal is held in place by clips instead of screws, you can gently pry these clips off with a flathead screwdriver. Once all fasteners are removed, carefully pull the old gasket away from the oven door.
how to fix oven seal

Step 4 Clean the Area
With the old seal removed, it's crucial to clean the area where the new seal will be installed. Use a damp cloth or sponge to wipe away any debris, grease, or grime. Ensuring the surface is clean will help the new seal bond effectively.
Step 5 Install the New Seal
Now, it’s time to install the new seal. Begin by aligning it with the grooves or attachment points where the old seal was situated. If your new seal is too long, you can trim it using a utility knife to fit perfectly. Secure the new gasket in place by replacing any screws or clips that you removed earlier. Make sure it is snug against the oven door to create a tight seal.
Step 6 Test the Seal
After installation, close the oven door and check the seal's effectiveness. A simple test is to feel for air leaks by running your hand around the edges. If you feel any drafts, the seal may need to be adjusted.
Conclusion
Fixing an oven seal is a straightforward task that can significantly improve your oven’s performance. By following these steps, you will ensure even cooking, save energy, and prolong the lifespan of your oven. If issues persist despite a new seal, consider consulting a professional for further assistance.
-
Silicone Seal Strip: The Ultimate Solution for Your Sealing NeedNewsNov.01,2024
-
Keep the Heat: The Importance of Seal for Oven DoorsNewsNov.01,2024
-
Essential Guide to Corner Protectors for Your FurnitureNewsNov.01,2024
-
Enhance Your Home with Silicone SolutionsNewsNov.01,2024
-
Efficient Maintenance of Melamine Sealing StripsNewsNov.01,2024
-
Comparison of Different Edge Sealing ProcessesNewsNov.01,2024
-
Types of Door Bottom Seal Strips and Their Best UsesNewsOct.25,2024