How to Attach an Oven Seal
How to Attach an Oven Seal A Step-by-Step Guide
Replacing an oven seal is a crucial maintenance task that ensures your oven operates efficiently and maintains the right temperature. A worn or damaged seal can lead to heat loss, affecting cooking times and energy consumption. Fortunately, attaching a new oven seal is a straightforward process that you can accomplish with a few simple tools.
Step 1 Gather Necessary Materials
Before you begin, make sure you have the new oven seal and the following tools scissors, a screwdriver, and a putty knife. You may also want to wear gloves to protect your hands.
Step 2 Remove the Old Seal
First, open the oven door and inspect the existing seal. Most seals are either clipped or glued in place. If it's clipped, you can simply pull it off. For glued seals, use a putty knife to gently pry it away from the oven door. Be careful not to damage the surface of the door. Once it’s removed, clean the area around the seal to remove any remnants of adhesive or debris. This will ensure a strong bond for the new seal.
Step 3 Prepare the New Seal
how to attach oven seal

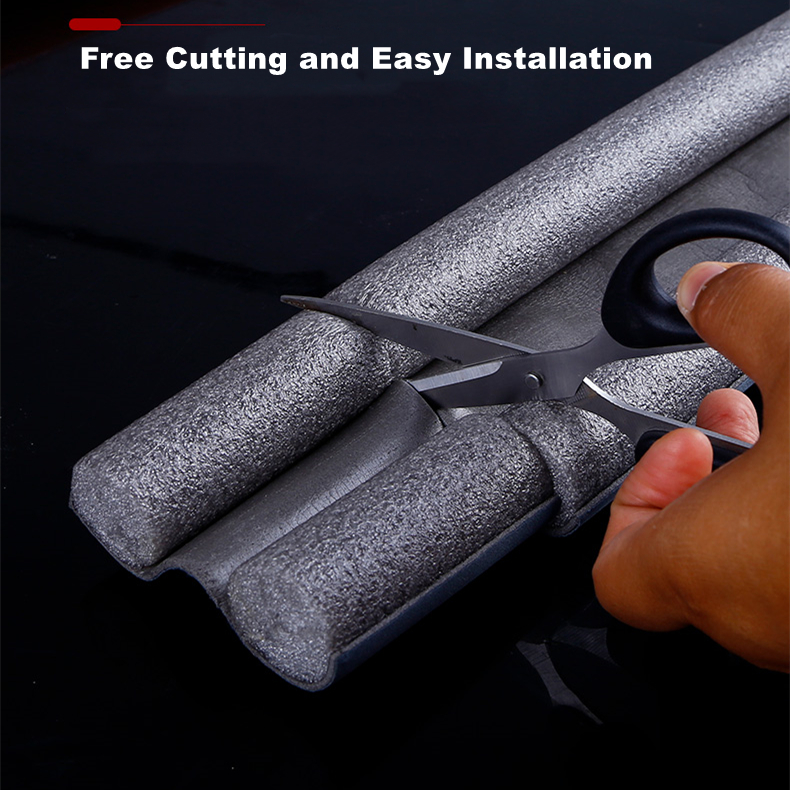
Unpack the new oven seal and lay it flat to allow it to regain its shape. Check the length of the seal and trim it if necessary, following the manufacturer’s instructions. Most seals come with a guide that details how to cut them to fit your oven model.
Step 4 Attach the New Seal
If your oven seal has a groove, start by placing one end of the seal into the groove or track on the oven door. If necessary, use the screwdriver to assist in pushing it in securely. Continue to insert the seal around the entire perimeter of the oven door, ensuring it fits snugly into the grooves. For glued seals, apply a thin layer of adhesive to the back of the seal as you position it.
Step 5 Check the Fit
Once the new seal is in place, close the oven door to check the fit. The seal should create an airtight closure, with no gaps. If everything looks good, your oven is now ready to use.
By following these simple steps, you can easily replace your oven seal and ensure that your oven operates efficiently. Regular maintenance like this can extend the life of your appliance and improve your cooking experience.
-
Silicone Seal Strip: The Ultimate Solution for Your Sealing NeedNewsNov.01,2024
-
Keep the Heat: The Importance of Seal for Oven DoorsNewsNov.01,2024
-
Essential Guide to Corner Protectors for Your FurnitureNewsNov.01,2024
-
Enhance Your Home with Silicone SolutionsNewsNov.01,2024
-
Efficient Maintenance of Melamine Sealing StripsNewsNov.01,2024
-
Comparison of Different Edge Sealing ProcessesNewsNov.01,2024
-
Types of Door Bottom Seal Strips and Their Best UsesNewsOct.25,2024