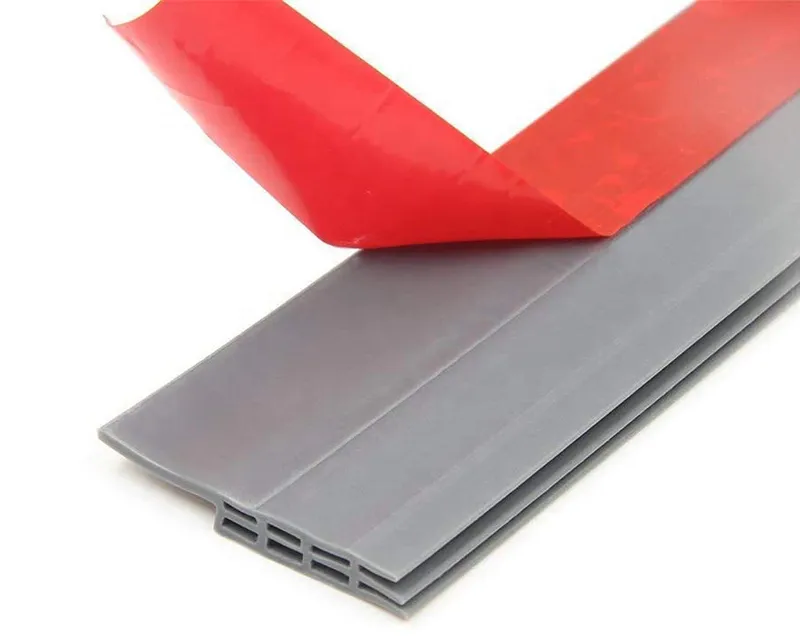
door seal diy
DIY Door Seal A Step-by-Step Guide to Improving Your Home's Energy Efficiency
Ensuring that your home is energy-efficient not only helps you save money on heating and cooling bills but also keeps your living space comfortable. One effective yet often overlooked method of boosting energy efficiency is installing a door seal. A door seal prevents drafts and air leaks, thereby maintaining your home's temperature. Here’s a step-by-step guide on how to create and install your own DIY door seal.
Materials Needed
1. Weatherstripping tape (foam, V-strip, or felt) 2. Door sweep or bottom seal 3. Measuring tape 4. Scissors 5. Utility knife 6. Clean cloth 7. Adhesive remover (if necessary) 8. Caulk gun and caulk (optional)
Step 1 Assess Your Door
Before starting your DIY project, carefully examine your door for any visible gaps. Close the door and check for air drafts by running your hand along the edges. If you can feel cold air seeping in, it’s time to take action. Pay special attention to the top, sides, and bottom of the door.
Step 2 Measure the Door
Using a measuring tape, determine the length of each side of your door where you'll be applying the weatherstripping. Make sure to account for the width of the door sweep, which will also need to be measured based on the door's width.
Step 3 Clean the Surface
A clean surface is critical for proper adhesion. Wipe down the edges of the door with a clean cloth to remove any dust, grime, or old adhesive residue. If necessary, use adhesive remover to ensure a smooth application.
door seal diy

Step 4 Apply Weatherstripping Tape
Cut the weatherstripping tape to the measured lengths. Carefully peel off the backing and press the tape firmly onto the door frame, ensuring that it aligns evenly with the edges. For spaces with larger gaps, V-strip weatherstripping can provide a flexible solution that expands and contracts with temperature changes.
Step 5 Install a Door Sweep
Next, install a door sweep at the bottom of the door. This can either be a stick-on or a screw-on type. Align the door sweep with the bottom edge of the door, ensuring that it fully covers any gaps. If it’s adjustable, ensure it makes contact with the floor without dragging. Mark the drill holes if necessary, then secure it in place.
Step 6 Optional Caulking
If you notice larger gaps where the door frame meets the wall, consider applying some caulk. Use a caulk gun to fill these gaps for an even tighter seal. Choose a color that matches your wall for a neat finish.
Step 7 Final Check
Once everything is installed, close your door and check again for drafts. Open and close the door a few times to ensure everything moves smoothly and the seals are functioning as intended.
Conclusion
By following these simple steps, you can create an effective DIY door seal that reduces energy loss and enhances the comfort of your home. This project not only saves you money but also contributes to a more sustainable living environment. With just a few hours of work, you can enjoy a cozier home year-round!
-
Silicone Seal Strip: The Ultimate Solution for Your Sealing NeedNewsNov.01,2024
-
Keep the Heat: The Importance of Seal for Oven DoorsNewsNov.01,2024
-
Essential Guide to Corner Protectors for Your FurnitureNewsNov.01,2024
-
Enhance Your Home with Silicone SolutionsNewsNov.01,2024
-
Efficient Maintenance of Melamine Sealing StripsNewsNov.01,2024
-
Comparison of Different Edge Sealing ProcessesNewsNov.01,2024
-
Types of Door Bottom Seal Strips and Their Best UsesNewsOct.25,2024