door seal diy
DIY Door Seal A Comprehensive Guide to Insulating Your Home
When it comes to home maintenance, often overlooked aspects can lead to significant energy loss and higher utility bills. One such area is the sealing around doors. A well-installed door seal can make a noticeable difference in your home's energy efficiency. In this article, we will walk you through a DIY guide to installing door seals, ensuring your home stays comfortable year-round.
Understanding Door Seals
Door seals are designed to close the gaps between your door and its frame. These gaps can let in drafts, moisture, and even pests. Proper door sealing can significantly improve insulation, reducing your heating and cooling costs. There are several types of door seals available on the market, including weatherstripping, door sweeps, and thresholds. Each type serves a specific purpose, so understanding these options is crucial for effective sealing.
Materials Needed
Before you get started, gather the following materials
1. Measuring tape 2. Utility knife or scissors 3. Level 4. Straightedge or ruler 5. Adhesive or screws (depending on the type of seal) 6. A selection of door seals (weatherstripping, door sweeps, thresholds)
Measuring the Gaps
First, inspect your door and identify the areas where drafts are most evident. Use a measuring tape to measure the width and height of the door frame to ensure you purchase the right size seal. If you're unsure, take measurements both at the top and bottom of the door, as well as along the sides.
Choosing the Right Seal
door seal diy

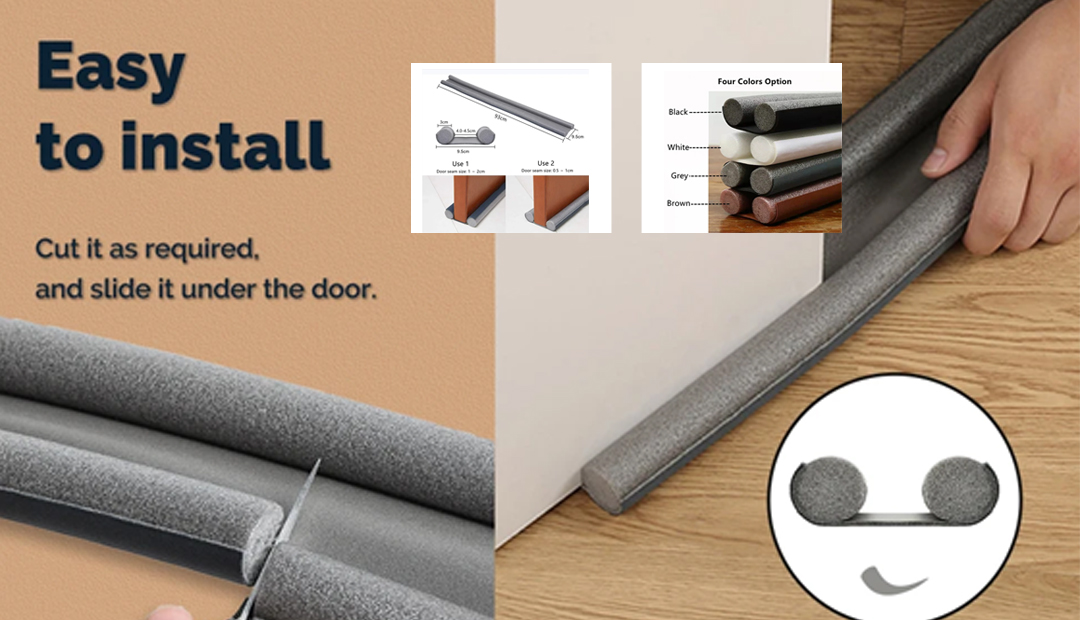
For most door frames, self-adhesive weatherstripping is a good starting point. It is versatile, easy to install, and is available in various materials, including foam, rubber, and vinyl. If your door has a significant gap at the bottom, consider using a door sweep. This is a long strip of material that affixes to the bottom edge of the door, effectively blocking drafts.
For external doors, a threshold is important as well. This is a piece of material affixed to the bottom of the door frame, which further improves insulation by filling in any gaps.
Installation Process
1. Clean the Surface Start by cleaning the door frame area where the seal will be installed to ensure good adhesion. 2. Cut the Seal Measure and cut the weatherstripping or sweep to the right length using a utility knife or scissors.
3. Attach the Seal For self-adhesive seals, peel off the backing and press the seal firmly into place, ensuring that it's evenly aligned. For door sweeps, line it up with the door's edge and drill screws into place if required.
4. Check Alignment Close the door to ensure that the seal compresses adequately. It should not be overly tight, but it should effectively block any drafts when closed.
5. Test it Out Finally, check for drafts by running your hand along the edges of the door. If you still feel drafts, you may need to adjust the seals or add additional strips.
Conclusion
Installing a DIY door seal is a straightforward project that offers immediate benefits. Not only will it enhance your home's energy efficiency, but it will also improve overall comfort. With just a few hours and the right materials, you can take an essential step towards a more energy-efficient home. Start your DIY project today and enjoy a cozier living space tomorrow!
-
Silicone Seal Strip: The Ultimate Solution for Your Sealing NeedNewsNov.01,2024
-
Keep the Heat: The Importance of Seal for Oven DoorsNewsNov.01,2024
-
Essential Guide to Corner Protectors for Your FurnitureNewsNov.01,2024
-
Enhance Your Home with Silicone SolutionsNewsNov.01,2024
-
Efficient Maintenance of Melamine Sealing StripsNewsNov.01,2024
-
Comparison of Different Edge Sealing ProcessesNewsNov.01,2024
-
Types of Door Bottom Seal Strips and Their Best UsesNewsOct.25,2024